


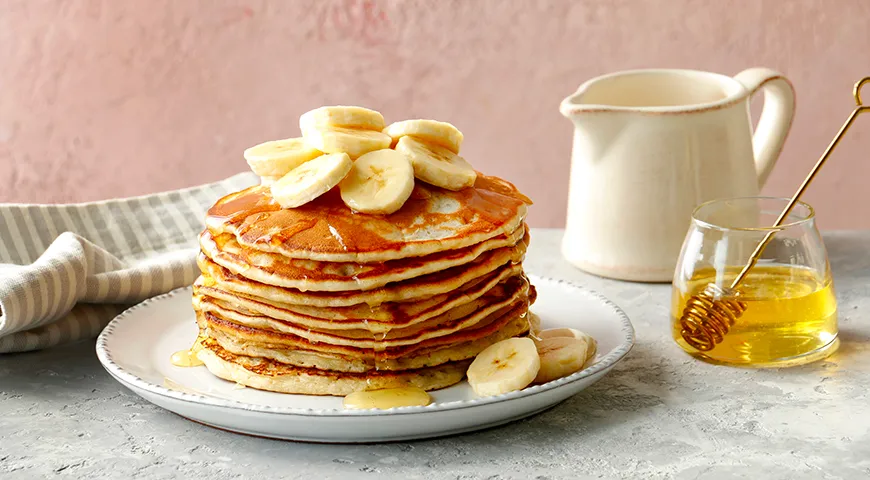
There is something deeply comforting about a stack of golden pancakes, especially when they are infused with the natural sweetness of ripe bananas. This Russian-inspired recipe for banana pancakes in a skillet delivers an exceptionally tender, fluffy texture with a rich, caramelized flavor. Unlike dense American-style pancakes, these Russian pankejki rely on very ripe bananas for both moisture and sweetness, making them almost dessert-like. Whether you are whipping up a lazy Sunday breakfast or a brunch for guests, this foolproof method, perfected on the stovetop, yields batch after batch of perfection. Let’s dive into the art of making banana pancakes that are as beautiful as they are delicious.
About This Recipe
This recipe comes from the classic Russian culinary platform Gastronom.ru, where simplicity meets comfort. The key to these pancakes is the use of overripe bananas, which provide intense flavor and natural sweetness, allowing you to reduce added sugar. The batter comes together with milk, eggs, butter, and a blend of dry ingredients, including baking powder for lift. Unlike many Western pancakes that require a blender or mixer, this batter is stirred by hand, leaving small lumps that ensure a light, airy crumb. The process is straightforward: mash bananas, combine wet and dry ingredients separately, then fold them together. A hot, lightly greased skillet transforms the batter into golden discs with a slightly crisp edge and a tender, almost custard-like interior. For best results, use a quality non-stick pan or a well-seasoned cast-iron skillet. If you are looking for the best tools to make this recipe easier, you might consider a high quality oil sprayer for greasing or a microwave pressure cooker for quick side dishes.

Ingredients
- 500 ml milk (whole or 2%)
- 3 large very ripe bananas (preferably with brown spots)
- 2 large eggs
- 3 tablespoons unsalted butter, melted
- 250 g all-purpose flour (approximately 2 cups)
- 3 tablespoons granulated sugar
- 2 teaspoons baking powder
- ¼ teaspoon salt
- Vegetable oil or clarified butter for the skillet
Step-by-Step Instructions
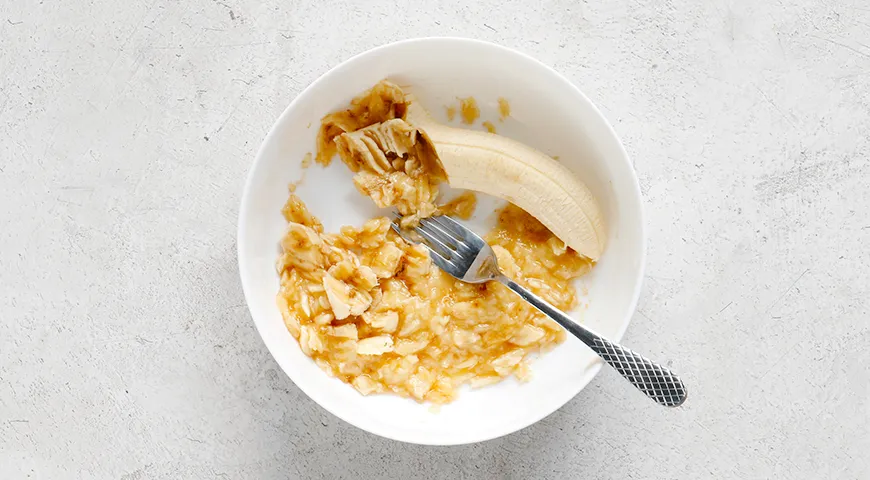
- Mash the bananas: Peel the bananas and place them in a large mixing bowl. Using a fork, mash them into a smooth purée with no large chunks. The riper the bananas, the easier they will mash and the sweeter your pancakes will be. For a smoother texture, you can use an immersion blender, but fork-mashing keeps the process rustic and quick.
- Combine wet ingredients: Add the eggs, milk, and melted butter to the mashed bananas. Whisk with the fork or a whisk until the mixture is uniform and slightly frothy. The melted butter should be cooled slightly so it doesn't cook the eggs.
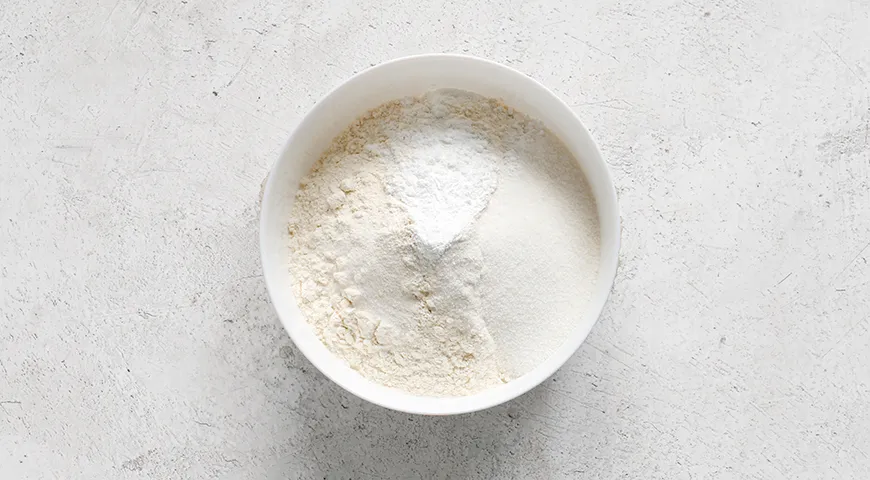
- Mix dry ingredients: In a separate bowl, whisk together the flour, sugar, baking powder, and salt. Make sure the baking powder is fresh for maximum lift. If you want to ensure even mixing, you can use a planetary mixer, but a simple whisk works perfectly.
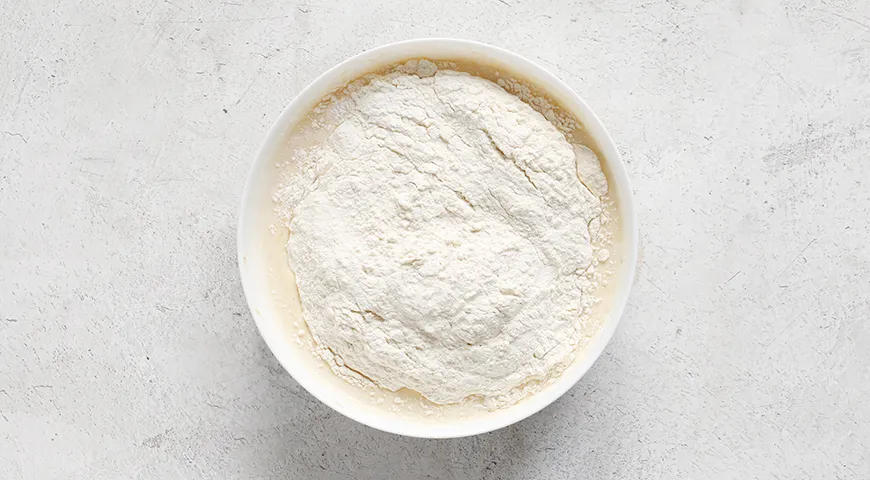
- Fold the batter: Add the dry mixture to the wet banana mixture. Stir gently with a spoon until just combined—do not overmix. The batter will be lumpy, which is exactly what you want. Overmixing develops gluten and makes pancakes tough. Let the batter rest for 5 minutes while the skillet heats.
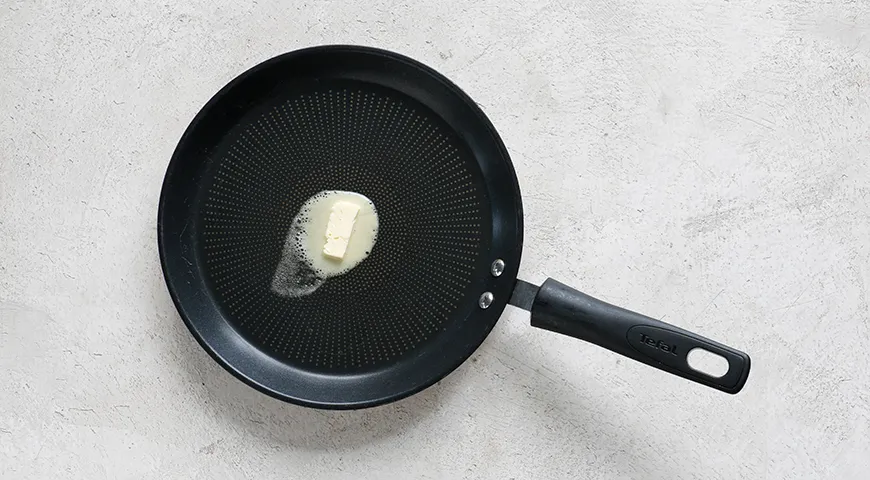
- Heat the skillet: Brush or spray a non-stick skillet or griddle with a thin layer of vegetable oil or clarified butter. Place over medium heat. To test if it's ready, sprinkle a few drops of water—they should sizzle and evaporate immediately. Adjust heat as needed; medium is ideal to avoid burning.
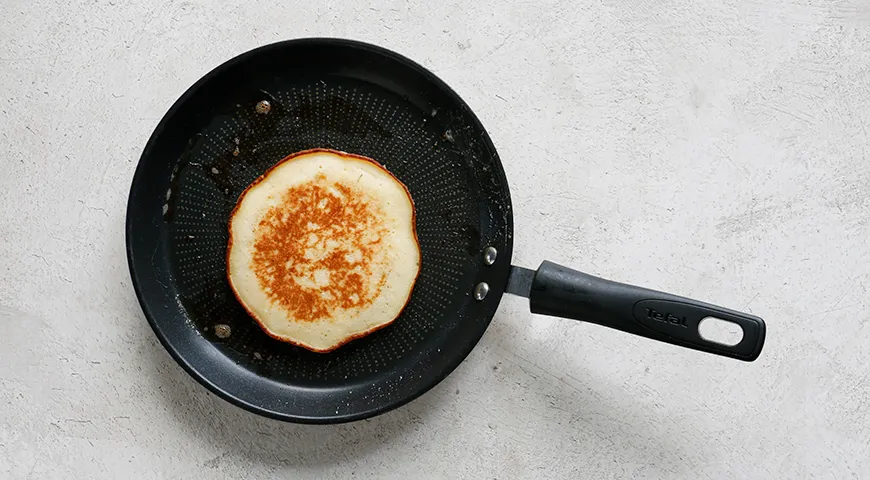
- Cook the pancakes: Pour about ¼ cup of batter per pancake onto the hot skillet. Cook until bubbles appear on the surface and the edges look matte, about 2–3 minutes. The bottom should be deep golden brown. Flip with a spatula and cook another 1–2 minutes until the second side is golden. Transfer to a plate and keep warm in a low oven (about 100°C) while you cook the remaining batter. Serve immediately with maple syrup, fresh berries, or a dusting of powdered sugar.

Tips for Perfect Pancakes
- Use very ripe bananas: The skin should be covered in brown speckles or even fully brown. This ensures maximum sweetness and a stronger banana flavor. Under-ripe bananas will result in bland, less tender pancakes.
- Don't overmix the batter: Lumps are your friend. Overmixing creates a rubbery texture. Stir until the flour is just moistened.
- Control the heat: Medium heat is crucial. If the pan is too hot, the outside will burn before the inside cooks. If too cool, the pancakes spread and become dense. A commercial countertop convection oven isn't needed here, but a reliable stovetop burner helps.
- Rest the batter: Letting the batter sit for 5–10 minutes allows the flour to hydrate and the baking powder to activate, yielding fluffier pancakes.
- Keep pancakes warm: Stack them on a plate in a 100°C oven or cover with foil to prevent drying out while you finish the batch. For a larger crowd, consider a combination microwave to keep them warm.
Variations
Once you master the basic banana pancake, you can experiment endlessly. Add a handful of chocolate chips or chopped walnuts to the batter for extra texture. Swap ½ cup of flour for whole wheat or oat flour for a healthier twist. For a vegan version, use plant-based milk and replace eggs with flax eggs (1 tablespoon ground flaxseed + 3 tablespoons water per egg). You can also add a teaspoon of vanilla extract or a pinch of cinnamon to the dry ingredients. If you love a boozy brunch, try a dash of organic vodka in the batter for a subtle kick. For an indulgent topping, caramelized bananas cooked in butter and brown sugar are exquisite.
FAQ
Can I use frozen bananas for these pancakes?
Absolutely. Thaw frozen bananas completely, then mash them. They will release more liquid, so you may need to reduce the milk by 1–2 tablespoons to maintain the right batter consistency.
How can I make the pancakes gluten-free?
Substitute the all-purpose flour with a 1:1 gluten-free baking blend that contains xanthan gum. Avoid using almond or coconut flour alone, as they will change the texture dramatically.
Why are my pancakes sticking to the skillet?
Your pan may not be sufficiently greased, or the heat could be too low. Ensure the skillet is hot before adding batter, and use a best oil sprayer for an even, thin coating. Non-stick pans also need a minimal amount of fat.
Can I double this recipe?
Yes, this recipe scales perfectly. Simply multiply all ingredients by two. Use a larger bowl and a planetary mixer if you prefer not to whisk by hand, but folding is still best for texture.
How do I store leftover pancakes?
Cool them completely, then store in an airtight container in the refrigerator for up to 3 days. Reheat in a toaster or a skillet for best results. You can also freeze them for up to a month; reheat directly from frozen in a non-toxic air fryer at 180°C for 3–4 minutes.
Can I use buttermilk instead of milk?
Yes, buttermilk adds a tangy flavor and extra tenderness. If you don’t have buttermilk, add 1 tablespoon of lemon juice or vinegar to the milk and let it sit for 5 minutes before using. This mimics buttermilk's acidity and helps activate the baking powder for even fluffier pancakes. For a perfect pairing, serve with chocolate-covered raisins or a drizzle of store-bought au jus? Actually, skip the au jus – stick to syrup!
How do I get perfectly round, even pancakes?
Use a ¼-cup measuring cup or a ladle to portion the batter. Pour the batter slowly into the center of the pan, letting it spread naturally. For perfectly uniform pancakes, use a food processor to blend the batter until smooth, though this will sacrifice some airiness. Alternatively, use a ring mold on the skillet.
For more pancake inspiration, check out this Catalan sponge recipe – it uses similar techniques but bakes up into a light, airy cake. And if you’re ever craving a savory breakfast, a cup of George Howell coffee alongside these pancakes is a match made in heaven.







