


In the heart of Russian home cooking lies a treasure trove of humble, nourishing dishes that transform simple ingredients into something truly special. Among them, carrot and millet cutlets — morkovnye kotlety s pshenom — stand out as a testament to the resourcefulness of Slavic cuisine. These golden, pan-fried patties marry the earthy sweetness of carrots with the fluffy, nutty texture of millet, creating a vegetarian main or side that is both comforting and elegant. Whether you're exploring organic vodka pairings or simply looking for a wholesome weeknight dinner, this recipe from the esteemed Russian culinary site Gastronom.ru is a must-try. We’ve translated and elevated it for the modern home cook, complete with step-by-step photography and expert tips.
About Carrot and Millet Cutlets
Carrot cutlets are a classic of Russian vegetarian cooking, often served in cafeterias and home kitchens alike. The addition of millet — a small, golden grain packed with protein and fiber — adds body and a delightful chewiness, transforming the mixture into a cohesive patty that holds together beautifully during frying. Traditionally enjoyed with a creamy milk sauce or a dollop of sour cream, these cutlets are versatile enough to be paired with a fresh salad, tucked into a bun, or served alongside roasted vegetables. For those who love experimenting with alternative grains, consider trying a Catalan sponge for dessert — a delightful contrast to this savory dish.

Ingredients
- 100g millet (about ½ cup)
- 300ml water or milk (1½ cups)
- 2 medium carrots (approx. 200g), peeled
- 1 large egg
- 10g unsalted butter
- Salt to taste
- Ghee or clarified butter for frying (or use a high-smoke-point oil like avocado oil; see our guide to the best oil sprayer for even coating)
- Breadcrumbs (panko or homemade) for coating
Step-by-Step Instructions
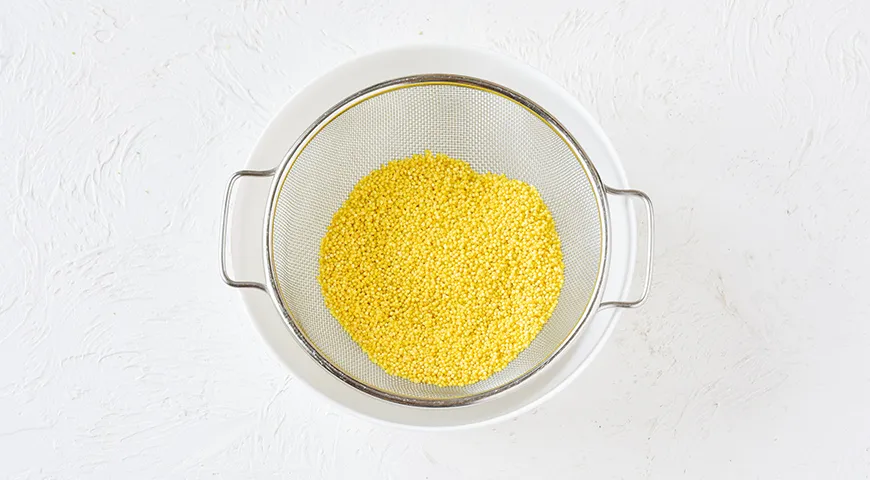
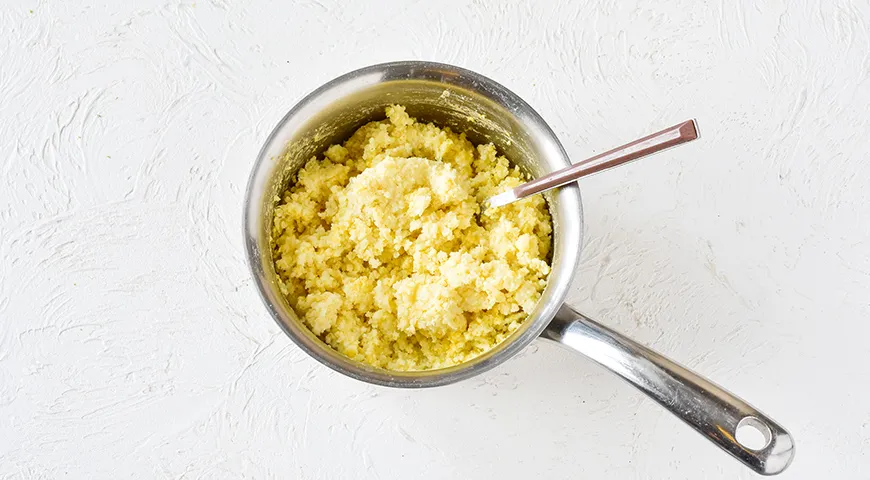
Step 1: Prepare the millet. Rinse the millet thoroughly under cold water 5–6 times, then pour boiling water over it and drain. This removes any bitterness and ensures a fluffy cooked grain. In a small saucepan, combine the rinsed millet with 300ml water or milk and a pinch of salt. Bring to a boil, then reduce heat to low, cover, and simmer for 15–20 minutes until the liquid is absorbed and the millet is soft and sticky. Set aside to cool slightly.
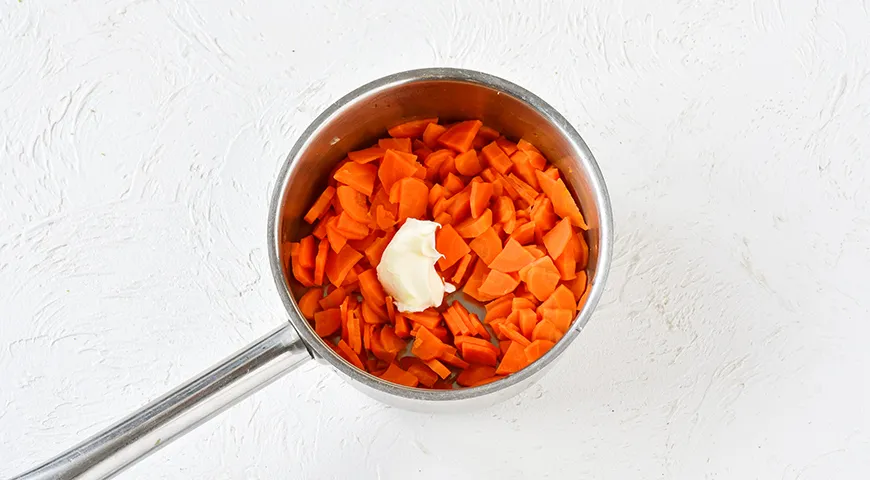
Step 2: Cook the carrots. Slice the peeled carrots into thin rounds or matchsticks. Place them in a small saucepan or sauté pan with 2 tablespoons of water and the butter. Cover and cook over medium heat for 5–6 minutes, until the carrots are tender and have released their natural sweetness. The steaming method preserves nutrients — for more root vegetable techniques, check out our best food processor for nut butter review, which also excels at prepping dense veggies.
Step 3: Purée the carrots. Transfer the cooked carrots to a blender or food processor and blend until smooth. For a silky texture, you can use an immersion blender — our guide to the best non-toxic immersion blender can help you choose a safe, durable tool. Scrape the carrot purée into a mixing bowl.
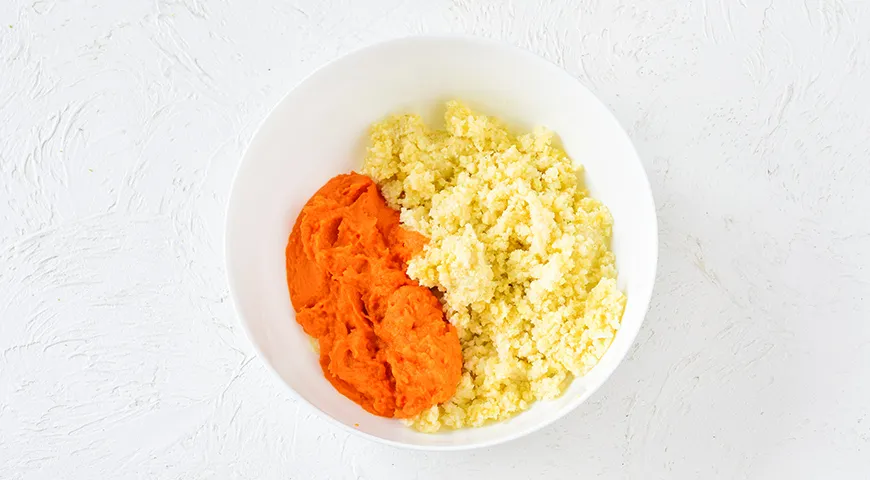
Step 4: Combine the base. Add the cooked millet to the carrot purée and mix well. Crack in the egg, add salt to taste, and stir until fully incorporated. The mixture should be thick and slightly sticky — if it feels too wet, you can refrigerate it for 15 minutes to firm up. For more binding options, see our best glass food processor post for tips on grinding flaxseed as an egg substitute.
Step 5: Shape the cutlets. Lightly wet your hands to prevent sticking. Take a portion of the mixture (about 2 tablespoons) and form it into an oval patty about 1.5 cm thick. Repeat with the remaining mixture. Coat each cutlet in breadcrumbs, pressing gently to adhere. For an extra-crispy finish, use panko — our review of the best non-toxic air fryer can help you make them even healthier with less oil.

Step 6: Fry the cutlets. Heat a generous amount of ghee or clarified butter in a large nonstick skillet over medium heat. Once hot, place the cutlets in a single layer (do not overcrowd). Cook for 3–4 minutes per side, until deep golden brown and crisp. Transfer to a paper towel-lined plate to drain. For consistent results, a quality best planetary mixer isn't needed here, but a reliable stovetop setup matters — our best 48-inch built-in refrigerator guide can help keep your veggies fresh.

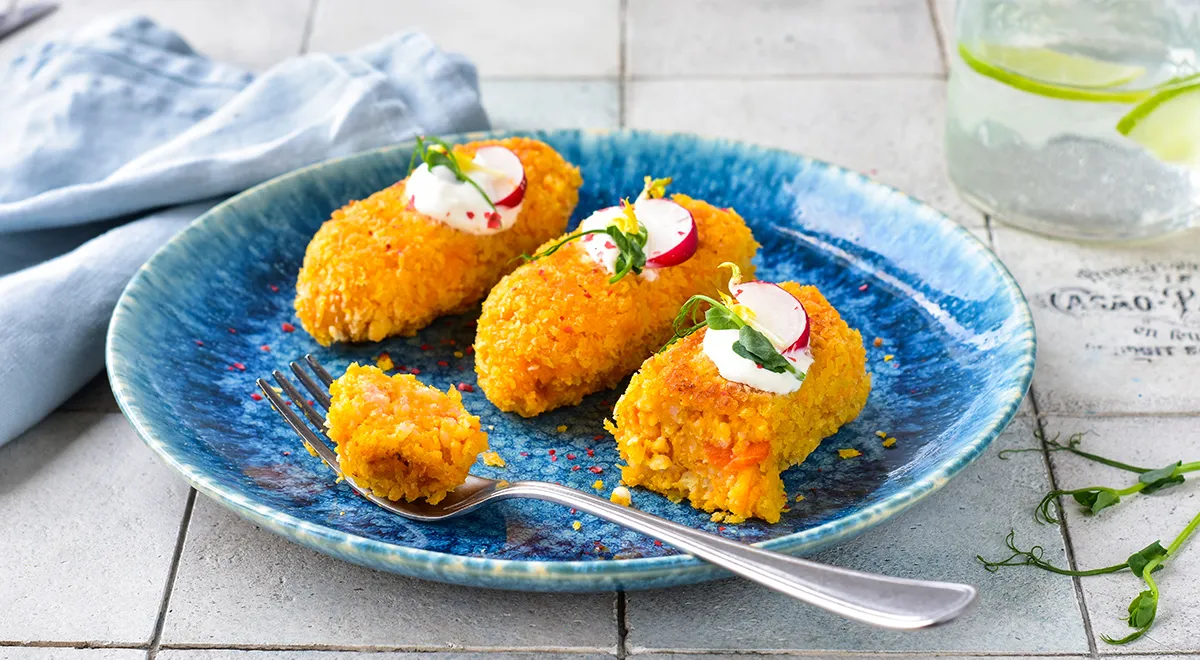
Step 7: Serve. Arrange the cutlets on a warm platter. Traditionally, they are drizzled with a creamy milk sauce or served with sour cream. For a lighter touch, pair with a cucumber-dill salad or roasted beets. If you're hosting a gathering, our best coffee maker for Airbnb review can help you finish the meal with a perfect cup of coffee. Enjoy these cutlets warm or at room temperature — they also freeze beautifully for later.

Tips for Perfect Cutlets
Getting the texture right is key. If the millet-corn mixture is too wet, the cutlets may fall apart during frying. Let it rest in the refrigerator for 20 minutes before shaping, or add a tablespoon of breadcrumbs to the mixture. For a dairy-free version, use water instead of milk and replace butter with coconut oil. A best microwave pressure cooker can speed up the millet cooking process. Also, ensure your pan is hot enough to create a crisp crust without absorbing too much oil.
Variations
Millet can be swapped with cooked rice, quinoa, or even bulgur for a different texture. Add a pinch of cumin, smoked paprika, or grated ginger to the carrot purée for an aromatic twist. For a protein boost, fold in some crumbled feta or cottage cheese. If you prefer baking over frying, place the cutlets on a parchment-lined sheet and bake at 200°C (400°F) for 15 minutes, flipping halfway — our best commercial countertop convection oven can handle that task with ease.
FAQ
Can I make these cutlets vegan?
Yes! Replace the egg with a flax egg (1 tablespoon ground flaxseed + 3 tablespoons water) and use plant-based milk and butter. The breadcrumbs should be certified vegan. For inspiration, see our best chocolate-covered raisins post for a treat to enjoy afterwards.
How do I store leftover cutlets?
Refrigerate cooked cutlets in an airtight container for up to 4 days. To reheat, warm them in a skillet with a little oil or in an air fryer for crispiness. For long-term storage, freeze uncooked or cooked cutlets on a baking sheet, then transfer to a freezer bag for up to 3 months.
Can I use a different grain instead of millet?
Absolutely. Cooked rice (white or brown), quinoa, or even couscous work well. Adjust the liquid ratios accordingly. For a grain-free option, try grated cauliflower that has been roasted and squeezed dry.
Why did my cutlets fall apart?
This usually happens if the mixture is too wet. Ensure the millet is fully cooked and not watery, and that the carrots are not waterlogged after steaming. Adding a little extra breadcrumbs or chilling the mixture helps. For more binding tips, check out our best castor oil guide (for non-food uses!), but seriously — practice makes perfect.
What sauce goes best with these cutlets?
A classic milk sauce (béchamel) flavored with nutmeg or a simple sour cream and dill sauce is traditional. You can also serve them with a tangy yogurt-garlic sauce or a sweet chili dip. For a wine pairing, consider a light, fruity white — our best sweet wine with high alcohol content may surprise you.
Can I bake these cutlets instead of frying?
Yes, as noted in the variations. Baking yields a slightly less crispy but still delicious result. Brush the cutlets with oil before baking for extra color. For even cooking, use a best wall oven microwave combo with air fryer to combine baking and air frying steps.
Are carrot and millet cutlets gluten-free?
Yes, if you use certified gluten-free millet and replace the breadcrumbs with gluten-free panko or crushed rice crackers. The rest of the ingredients are naturally gluten-free. Always check labels on butter and milk if avoiding cross-contamination.
We hope this translation and guide brings a taste of Russia to your kitchen. For more culinary adventures, explore our best George Howell coffee review and best steam canner to preserve your own harvests. Happy cooking!


