


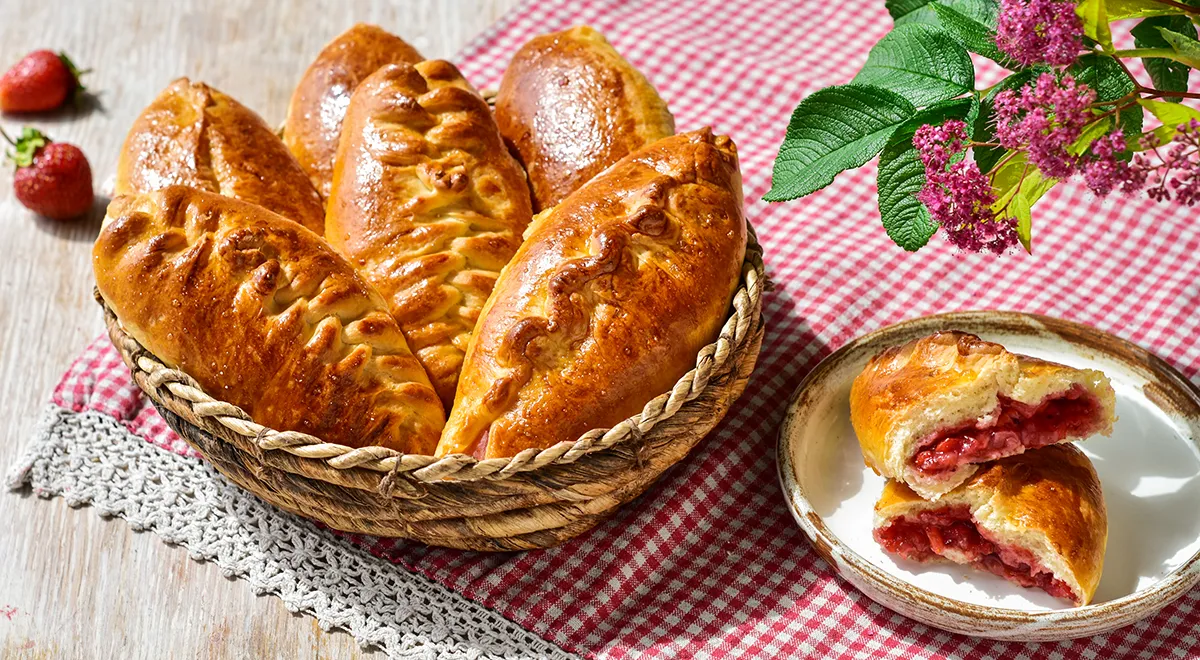
There is something deeply nostalgic about a warm, pillowy piroshki filled with the bright, sun‑kissed sweetness of strawberries. This Russian classic, Pirozhki s klubnikoj v dukhovke, transforms simple pantry staples into a bakery‑worthy treat that feels both rustic and refined. The magic lies in the tender yeast dough and the juicy, barely‑sweetened strawberry filling, balanced by a touch of cornstarch that prevents sogginess. Whether you serve them for an afternoon tea, a weekend brunch, or as a surprising dessert, these baked piroshki will win hearts. Let us guide you through every step, from activating the yeast to that final golden‑brown glow straight from the oven.
About This Recipe
Baked strawberry piroshki are a cherished summertime staple in Russian homes. Unlike their fried cousins, these oven‑baked buns have a lighter, more airy crumb and a subtly crisp crust. The dough, enriched with butter, eggs, and kefir, develops a soft elasticity that is a joy to work with. The filling – just ripe strawberries, sugar, and cornstarch – stays juicy without leaking. This recipe has been carefully adapted from the original Russian source to ensure foolproof results. For beginner bakers, we recommend consulting our guide on the best planetary mixer to simplify kneading; for seasoned hands, the hand‑kneading process is wonderfully meditative.

Ingredients
- Butter – 100 g
- Milk (3.2% fat) – 145 ml
- Sugar – 160 g (divided)
- Kefir (3.2% fat) – 125 ml, at room temperature
- Salt – a pinch
- Eggs – 2 (1 whole + 1 white for dough; 1 yolk for glaze)
- All‑purpose flour – 500–550 g
- Fresh strawberries – 500 g
- Cornstarch – 80 g
For best results, use high‑quality butter and fresh, fragrant strawberries. The kefir adds tenderness; if unavailable, substitute with plain yogurt. For a non‑toxic kitchen environment, consider using an oil sprayer to lightly grease your work surface.
Step‑by‑Step Instructions
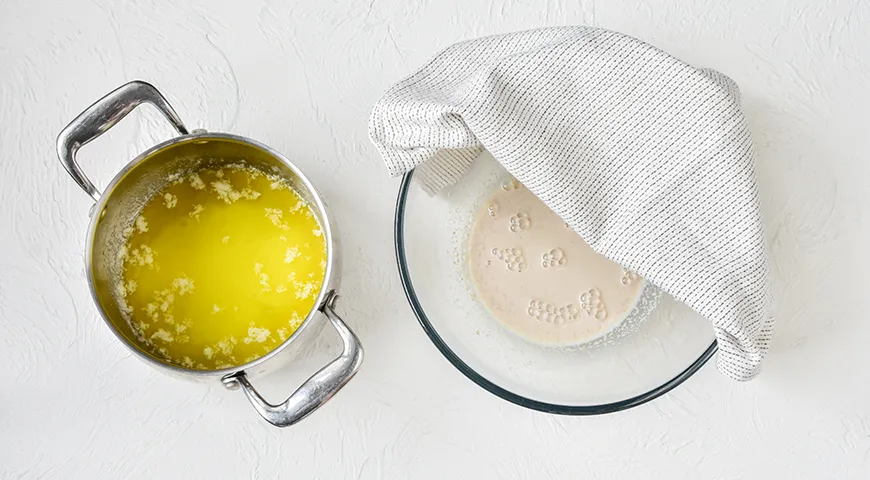
- Prepare the dough. Melt the butter in a small saucepan and let it cool slightly. Warm 125 ml of milk to 35°C (95°F) – it should feel just barely warm to the touch. Pour the milk into a large bowl. Add 10 g of sugar and crumble in the fresh yeast. Stir gently, then cover the bowl with a clean towel and let it sit in a warm, draft‑free spot for 15 minutes until the mixture becomes frothy and active.
- Build the dough base. To the yeast mixture, add the room‑temperature kefir, 70 g of sugar, a pinch of salt, one whole egg, and one egg white (reserve the yolk for glazing). Whisk everything together until well combined. The mixture should smell pleasantly tangy.
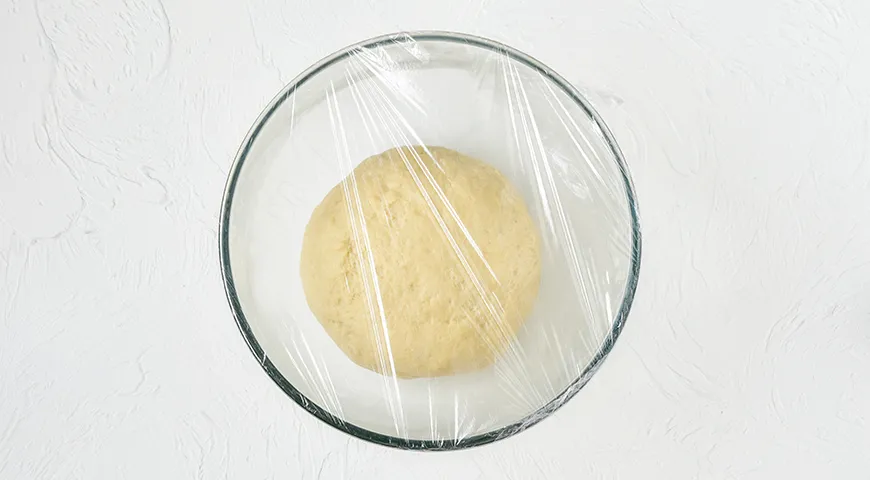
- Knead the dough. Sift 500 g of flour through a fine‑mesh sieve into the liquid mixture. Stir with a wooden spoon until a shaggy dough forms, then turn it out onto a lightly floured surface. Knead for a full 10 minutes – the dough should become smooth, elastic, and slightly tacky but not sticky. Add up to 50 g more flour if needed. Form the dough into a ball, place it in a greased bowl, cover tightly with plastic wrap, and let it rise in a warm place for 2 hours, until doubled in size.
- Prepare the strawberry filling. Wash the strawberries and pat them completely dry. Cut them into small dice – about 1‑cm cubes. Place the diced berries on a sieve set over a bowl to drain any excess juice for about 20 minutes. Meanwhile, punch down the risen dough and divide it into 12 equal pieces. Roll each piece into a ball, cover with a towel, and let rest for 15 minutes. This rest relaxes the gluten, making shaping easier.
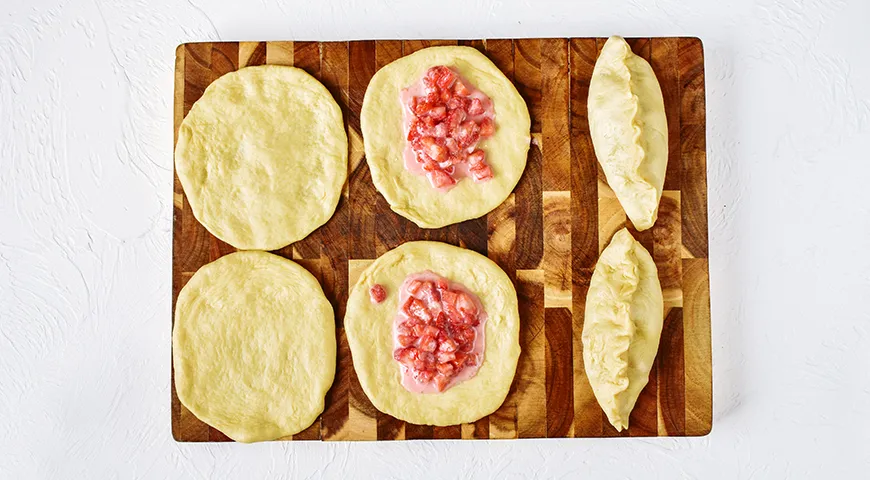
- Assemble the piroshki. Flatten each dough ball into a disc about 10 cm in diameter, using your fingers (a rolling pin is optional). In a separate bowl, toss the drained strawberries with the remaining 80 g of sugar and the cornstarch. Work quickly – as soon as the sugar begins to draw juice, spoon about 1½ tablespoons of the mixture onto the center of each disc. Fold the dough over the filling and pinch the edges firmly to seal. Place the piroshki seam‑side down on a parchment‑lined baking sheet.
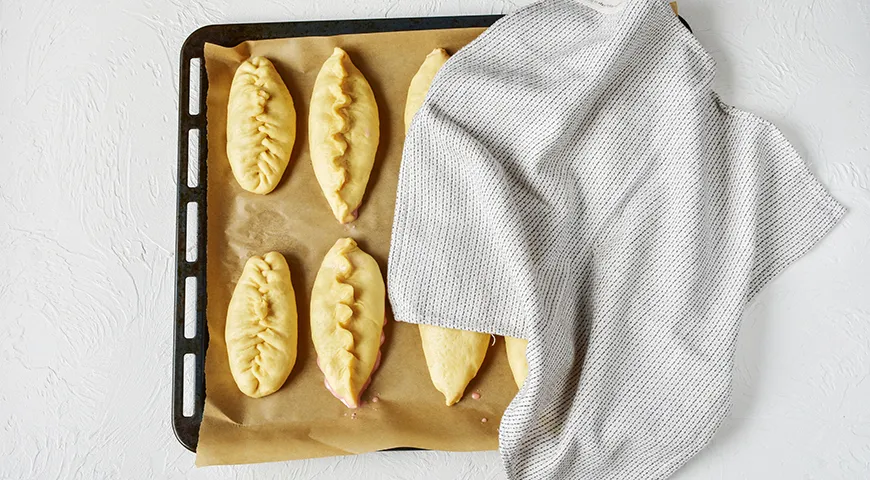
- Second rise and preheat. Cover the shaped piroshki with a clean towel and let them rise for another 15 minutes. Meanwhile, preheat your oven to 200°C (400°F). Position a rack in the center.
- Bake and finish. In a small bowl, whisk the reserved egg yolk with 20 ml of milk. Brush this glaze gently over each piroshki. Bake for 20–25 minutes, until deep golden brown. Remove the baking sheet from the oven, cover the piroshki with a thick kitchen towel, and let them rest for 10 minutes. For an extra‑soft crust, brush the hot piroshki with melted butter as soon as they come out of the oven, then cover with a damp cheesecloth and finally the towel.



Tips for Perfect Piroshki
- Ensure your kefir and eggs are at room temperature for a smooth, even rise.
- Do not skip the cornstarch in the filling – it thickens the strawberry juices so your piroshki stay crisp on the bottom.
- If your dough feels too sticky during kneading, resist adding too much extra flour; a light oiling of your hands works wonders. For a professional touch, use a food processor with a dough blade for quick kneading.
- Let the baked piroshki rest covered – this traps steam and makes the buns incredibly tender.
Variations
While strawberry is sublime, you can swap the fruit for raspberries, diced peaches, or a mix of berries. For a richer flavor, add a teaspoon of vanilla extract or a pinch of cinnamon to the filling. If you prefer a tangier note, replace half the kefir with sour cream. For a gluten‑free version, use a good 1‑to‑1 gluten‑free flour blend, but expect a slightly denser crumb. Pair these piroshki with a quality espresso for a delightful afternoon pick‑me‑up.
Frequently Asked Questions
Can I use frozen strawberries?
Yes, but thaw and drain them thoroughly first. Increase the cornstarch to 90 g to compensate for the extra moisture.
Why did my piroshki open during baking?
This usually happens if the edges were not sealed tightly. Pinch the dough firmly, and consider brushing a little water along the seams before sealing.
Can I make the dough ahead of time?
Absolutely. After the first rise, punch down the dough, wrap tightly, and refrigerate overnight. Bring it back to room temperature before shaping.
How should I store leftover piroshki?
Store in an airtight container at room temperature for up to 2 days. Reheat in a 180°C oven for 5 minutes to restore crispness.
Can I freeze unbaked piroshki?
Yes. Arrange them on a baking sheet, freeze until solid, then transfer to a zip‑top bag. Bake directly from frozen, adding 5 minutes to the baking time.
What can I use instead of kefir?
Plain yogurt thinned with a little milk works perfectly. Buttermilk is another excellent substitute.
Is this recipe suitable for a non‑toxic air fryer?
Yes! You can air fry the piroshki at 180°C for 12–15 minutes, though the crust will be slightly different. Brush with butter after cooking for extra softness.
How can I make the filling less sweet?
Reduce the sugar in the filling to 50 g, or replace it with a natural sweetener like stevia. The cornstarch ratio remains the same.
Why did my dough not rise?
Check that your yeast is fresh and that the milk temperature did not exceed 40°C – too hot kills the yeast. A warm, draft‑free spot is key; an oven with the light on is ideal.
Can I add lemon zest to the filling?
Absolutely. A teaspoon of finely grated lemon zest brightens the strawberry flavor beautifully.
Conclusion
These baked strawberry piroshki are a celebration of summer’s finest fruit wrapped in a cloud‑like dough. The recipe rewards patience – the slow rise, the gentle shaping, the final golden bake – but every bite makes it worthwhile. Whether you are a novice baker or a seasoned pro, this guide ensures success. For more baking inspiration, explore our collection of light and airy sponge recipes, or discover the best juicer to accompany your morning pastry. Happy baking!







