


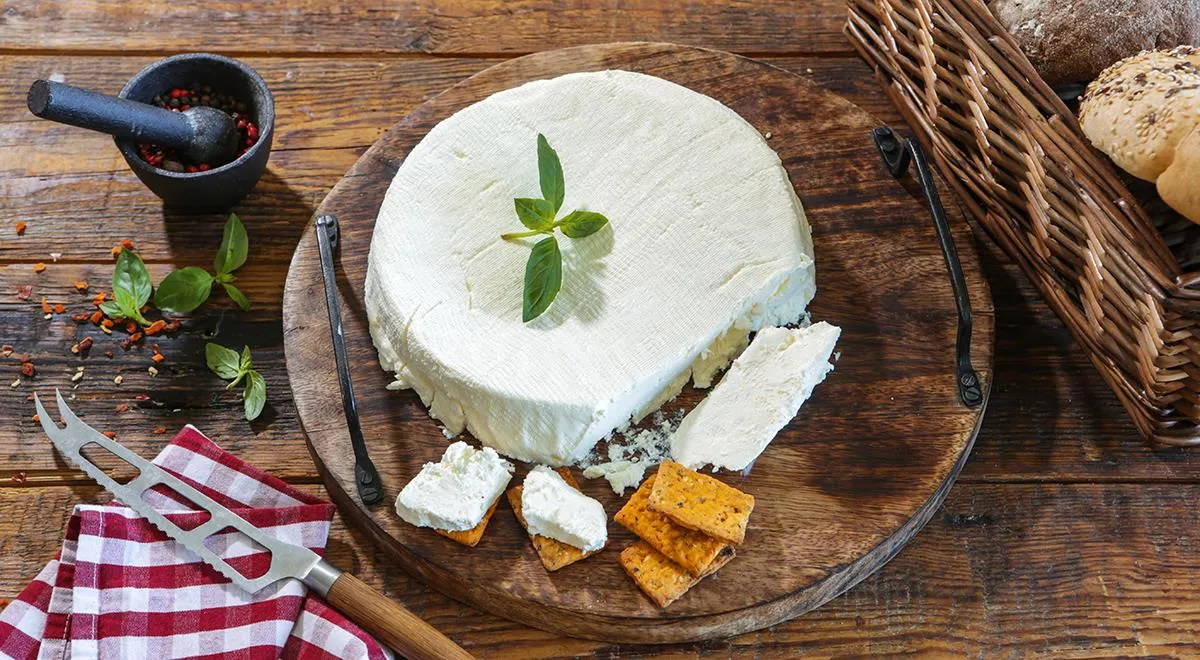
There is something profoundly satisfying about transforming just two humble ingredients into a silky, velvety cheese that rivals the most expensive brands. This homemade soft cream cheese—a perfect analogue for the beloved Philadelphia cream cheese that has become harder to find in some markets—is a testament to the magic of simple, high-quality components. Made from nothing more than full-fat sour cream and thick cultured buttermilk (prostokvasha), this recipe yields a luscious spread that is equally at home on a bagel, in a cheesecake, or layered into savoury pastries. The key lies in the quality of your ingredients and a gentle, patient draining process that respects the craft of cheese-making.
About This Recipe
This recipe harks back to a time when cream cheese was made at home, not in a factory. By combining sour cream (25–30% fat) with thermostatic prostokvasha (a fermented milk product with at least 4% fat), you create a culture that naturally thickens and develops a delicate tang. The cream cheese that results is incredibly smooth, spreadable, and far superior to many commercial versions. It can be used as a base for dips, a filling for crepes, or the star ingredient in a classic cheesecake. For those seeking a dairy-rich diet, this cheese is a wonderful source of probiotics and calcium. If you are new to cheese-making, a reliable food processor can help you achieve a uniform consistency if you desire a whipped texture.

Ingredients
- 750 g sour cream, fat content 25–30%
- 750 g thermostatic prostokvasha (or thick cultured buttermilk), fat content at least 4%
- 8–15 g fine non-iodized sea salt (adjust to taste)
- Lemon juice, if needed (only if your prostokvasha is not tangy at all)
The success of this recipe hinges on the fat content and acidity of your cultured milk. If you cannot find prostokvasha, you can substitute with full-fat Greek yogurt or even a high-quality organic buttermilk. The sour cream should be thick and not contain any stabilizers.
Step-by-Step Instructions
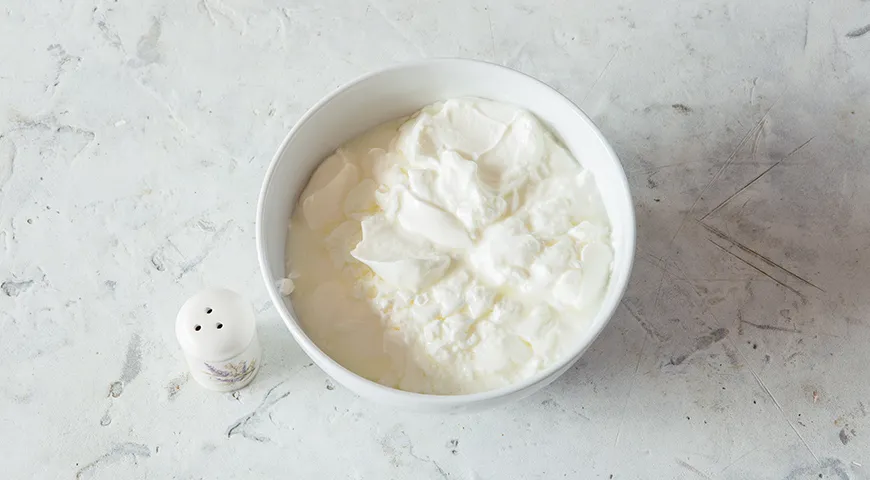
- Mix the base. In a large bowl, combine the sour cream, prostokvasha, and salt. Whisk thoroughly until completely homogeneous. This step ensures even distribution of salt and cultures. A non-reactive whisk is ideal to avoid any metallic off-flavours.
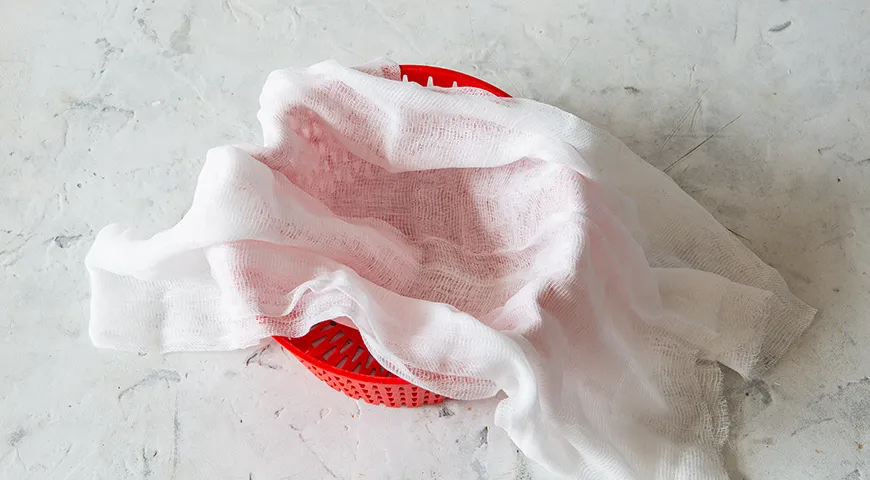
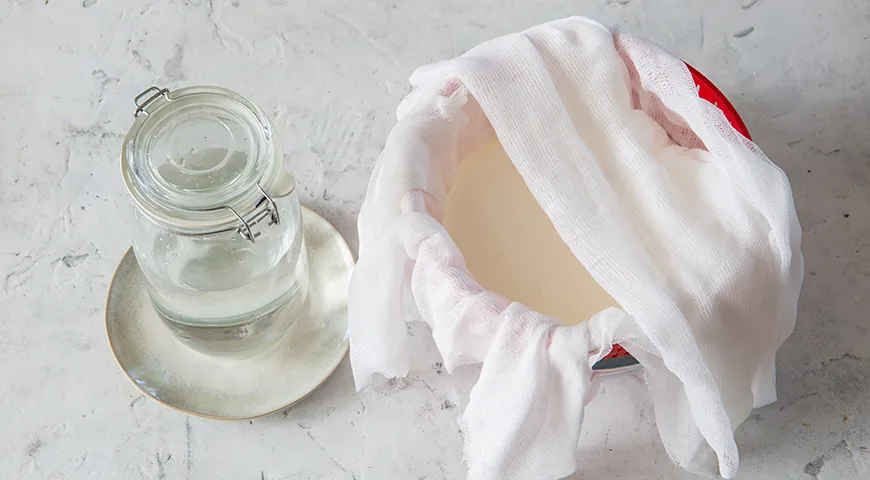
- Prepare the draining set-up. Place a large colander over a deep bowl. Line the colander with a large clean kitchen towel (a waffle-style cotton towel works perfectly) or with 7–8 layers of cheesecloth. Make sure the fabric overhangs the edges generously. This set-up allows gravity to do the work of separating whey from curds.
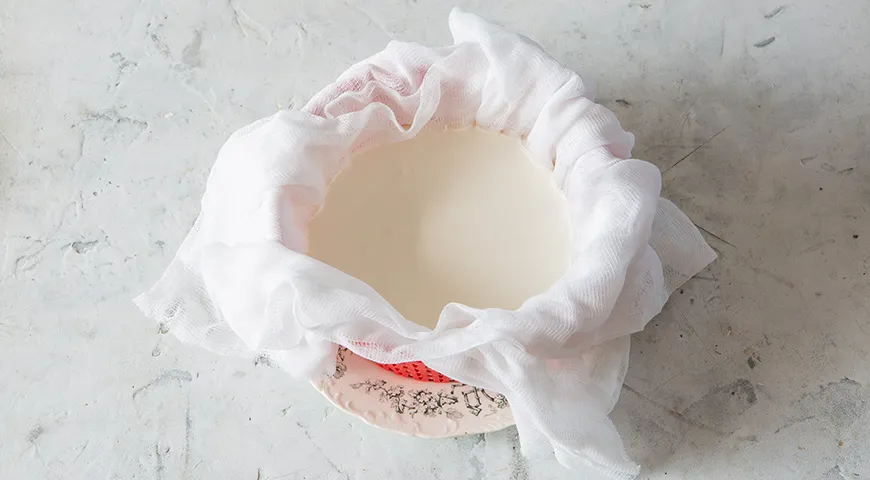
- Transfer and rest. Gently pour the sour cream mixture into the lined colander. Fold the overhanging fabric over the top to cover the surface (but do not tie). Cover the colander with plastic wrap and let it sit at room temperature for 2 hours. During this time, the whey will drain naturally under the weight of the mixture. This slow, gentle process is key to achieving that perfectly controlled fermentation.
- Weight and chill. After 2 hours, carefully pour off the collected whey. Remove the plastic wrap. Fold the overhanging cloth layers over the top of the cheese mass. Return the colander to the bowl. Place a small plate or a flat board directly on top of the cheese (it should sit flush on the surface). Put a weight of about 4 kg (such as a large can or a bag of beans) on top. Transfer the entire set-up to the refrigerator and let it press for 24–48 hours. The longer you press, the firmer and more spreadable the cheese becomes. This step can be compared to using a planetary mixer for dough—both require patience for the best texture.
Once pressed, unwrap the cheese. It should be firm, creamy, and sliceable. Store in an airtight container in the refrigerator for up to one week. The whey can be saved and used in bread recipes or smoothies.
Tips for Perfect Cream Cheese
- Temperature matters. Let the mixture rest at room temperature (around 20–22°C) for the 2-hour initial drain. Too cold, and the whey won't separate; too hot, and it may over-sour.
- Salt carefully. Use fine non-iodized salt to avoid a metallic taste. Start with 8 g; you can always add more after pressing.
- Lemon juice rescue. If your prostokvasha is not tangy, add 1–2 teaspoons of fresh lemon juice before mixing. For guidance on acidity, check our article on best pairing acids.
- Consistency control. For a softer, spreadable cheese, press for only 24 hours. For a firmer block (like regular cream cheese), press for 48 hours.
Delicious Variations
This basic recipe is a blank canvas. You can fold in finely chopped herbs (chives, dill, parsley) for a savoury Catalan-style spread. For a sweet version, add a spoonful of honey and a splash of vanilla. If you want a flavoured cream cheese for baking, try mixing in a touch of chopped chocolate-covered raisins after pressing. You can also use a non-toxic immersion blender to whip it into a light mousse.
Frequently Asked Questions
Can I use low-fat sour cream?
No. For a creamy result, the sour cream must have at least 25% fat. Lower fat will produce a grainy, watery cheese.
How do I serve this cream cheese?
It is perfect spread on crusty bread, used as a filling for blintzes, or as the base for dips. It also makes an excellent frosting for carrot cake when sweetened.
Why did my cheese turn out sour?
Over-fermentation. Either the prostokvasha was too acidic, or the initial 2-hour rest was too long in a warm environment. Next time, reduce the room-temperature time to 1 hour.
Can I freeze this cream cheese?
Yes, but the texture may become slightly crumbly after thawing. It is best used in cooked dishes after freezing. For storing, use an ice maker if you want to keep it cold.
How long does it keep?
Refrigerated in an airtight container, it stays fresh for up to a week. For longer storage, consider canning (though not recommended due to dairy density).
What can I do with the leftover whey?
Whey is rich in protein and can be used in smoothies, soups, or bread dough. It adds a nice tang. You can also use it in a steam canner recipe for pickles.
Serving Suggestions & Final Thoughts
This homemade cream cheese is a revelation. Use it in a classic New York-style cheesecake, spread it over warm bagels, or pipe it into fresh strawberries. The possibilities are endless. Once you taste the difference between this artisanal version and store-bought, you will never go back. Pair with a glass of sweet wine for a luxurious brunch. If you are looking for other fermented dairy projects, try making yogurt in a microwave pressure cooker. Enjoy the craft!







