


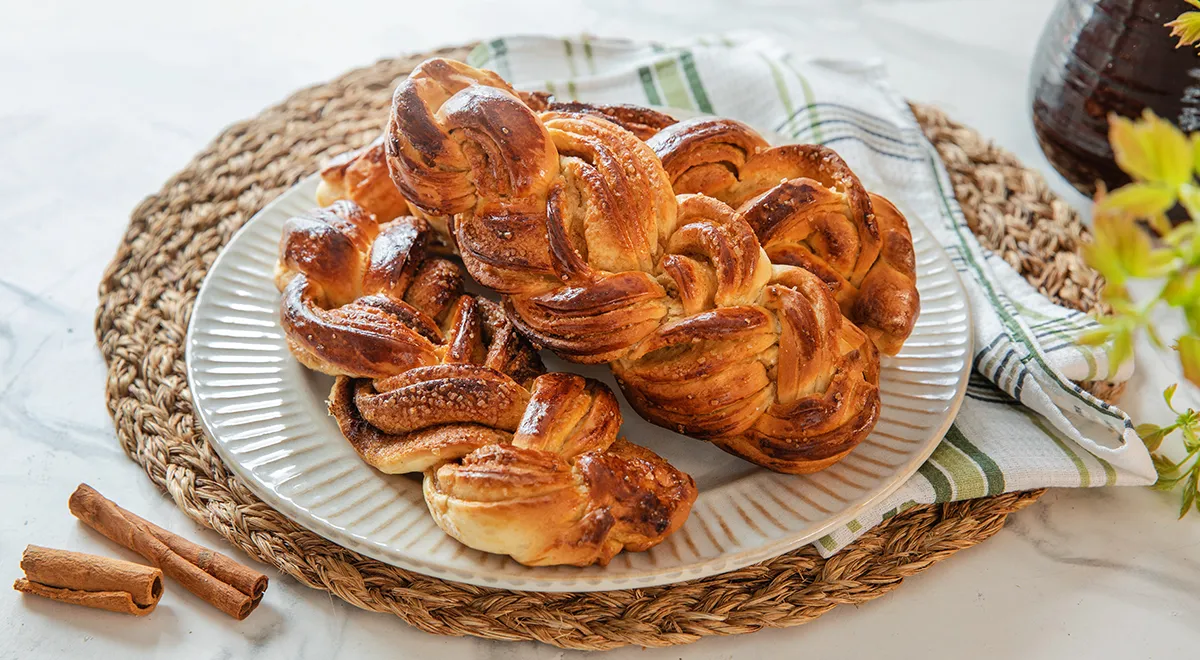
There is something deeply satisfying about pulling apart a golden, tender plaited bun that you have shaped with your own hands. The Bulochka Kosichka—a classic Russian braided bun—melds the comfort of yeasted dough with the playful elegance of a three‑strand plait. This recipe transforms simple ingredients into a soft, slightly sweet bread that begs to be served with butter, jam, or a steaming cup of tea. Whether you are an experienced baker or a curious novice, the step‑by‑step guidance below will help you create bakery‑quality buns in your own kitchen.
About This Recipe
Originating from the rich tradition of Russian home baking, the plaited bun is a staple for festive mornings and cozy afternoon snacks. The dough is enriched with milk, butter, and egg, yielding a pillowy crumb, while a glossy egg wash gives it a burnished crust. What sets these buns apart is the technique of slicing and braiding each piece—a simple yet impressive shaping method that elevates the final presentation. Serve them warm, perhaps alongside a glass of sweet wine for a delightful pairing, or enjoy them as the centerpiece of a brunch spread with a well‑chilled organic vodka for an Eastern European touch.

Ingredients
- 550 g wheat flour
- 100 g granulated sugar
- 250 ml 2.5% fat milk, warm (36–40 °C)
- 0.5 tsp salt
- 1 large egg, at room temperature
- 3 tbsp unsalted butter, melted and cooled
- 1 tbsp cornstarch
- 2 tbsp refined vegetable oil, plus more for greasing
- 1 egg yolk (for glaze)
- 1 tsp milk (for glaze)
- Sugar, poppy seeds, or cinnamon for sprinkling (to taste)
- 7 g active dry yeast (about 2¼ tsp)
Step‑by‑Step Instructions
-
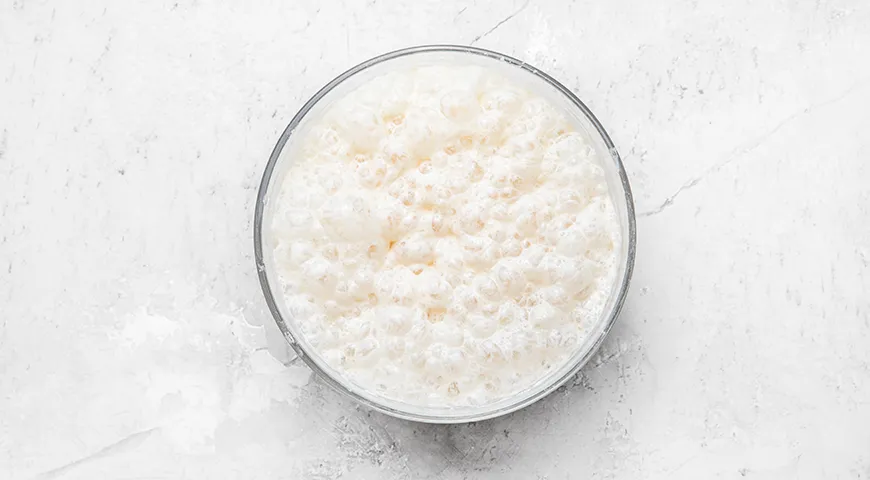
Prepare the sponge. In a glass bowl, combine the warm milk with 100 g flour, 20 g sugar, and the yeast. Stir until the sugar dissolves. Cover with plastic wrap and place in a warm spot for 20–30 minutes, until frothy.
-
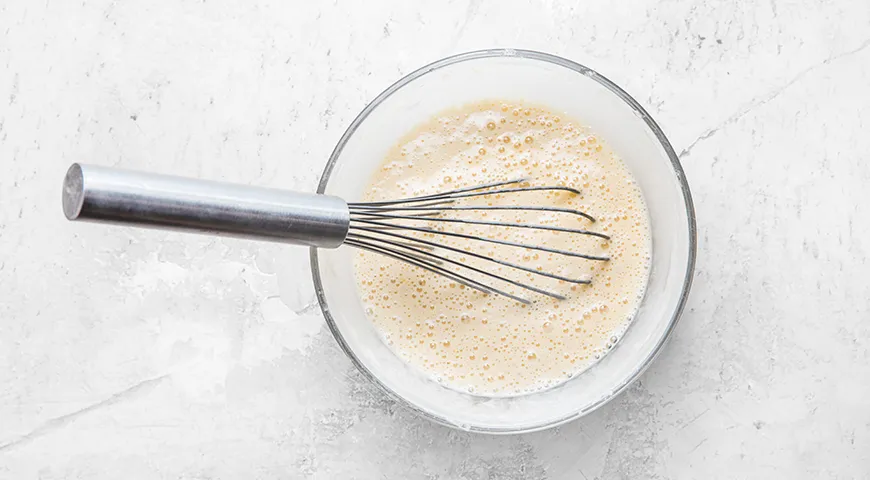
Build the dough base. To the bubbly sponge, add the salt, remaining sugar, and the whole egg. If the sponge shows no bubbles, your yeast may be inactive—use a new batch or test freshness. Stir until combined.
-
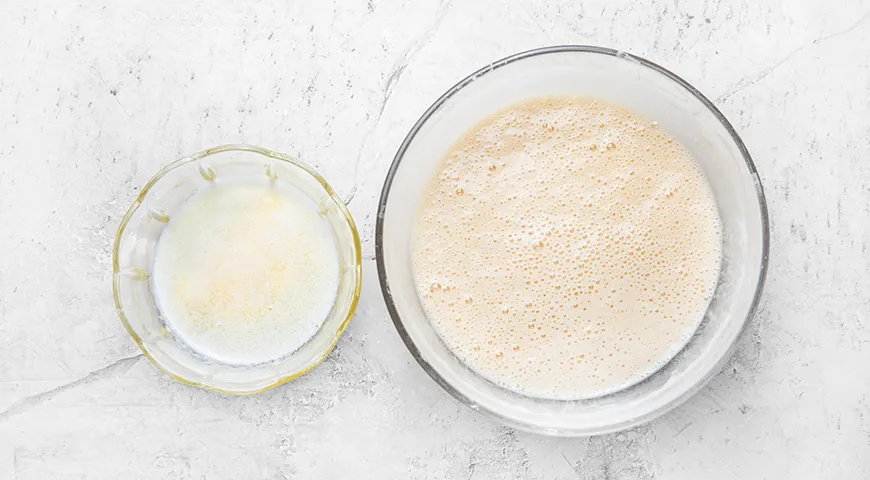
Add the butter. Pour in the cooled melted butter and mix thoroughly until the liquid is fully incorporated.
-
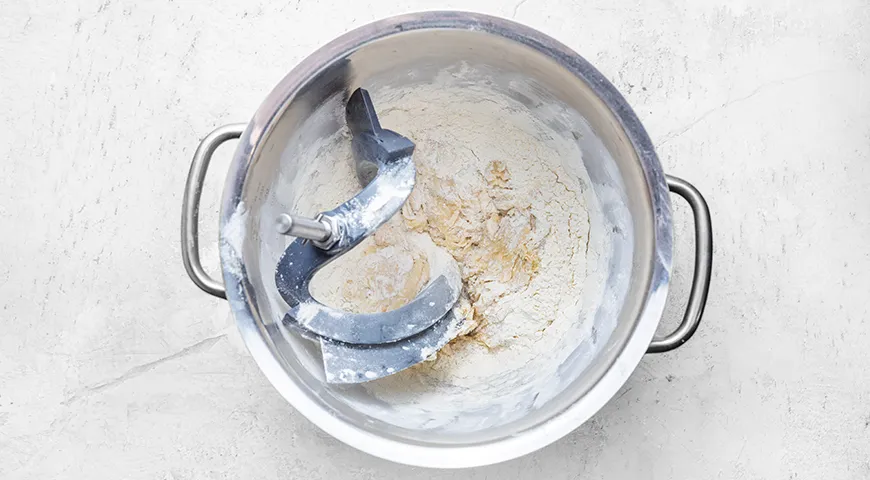
Knead the dough. Gradually add the remaining flour combined with cornstarch, sifting twice to aerate. Begin mixing on low speed with a planetary mixer, adding flour in small batches. Once the dough starts pulling away from the bowl, switch to hand‑kneading on a lightly oiled surface.
-
Hand‑knead until smooth. Continue kneading by hand, using an oil sprayer to keep your hands and the board lightly greased. Avoid adding excess flour; the dough should be soft but not sticky. Knead until it springs back when pressed.

-
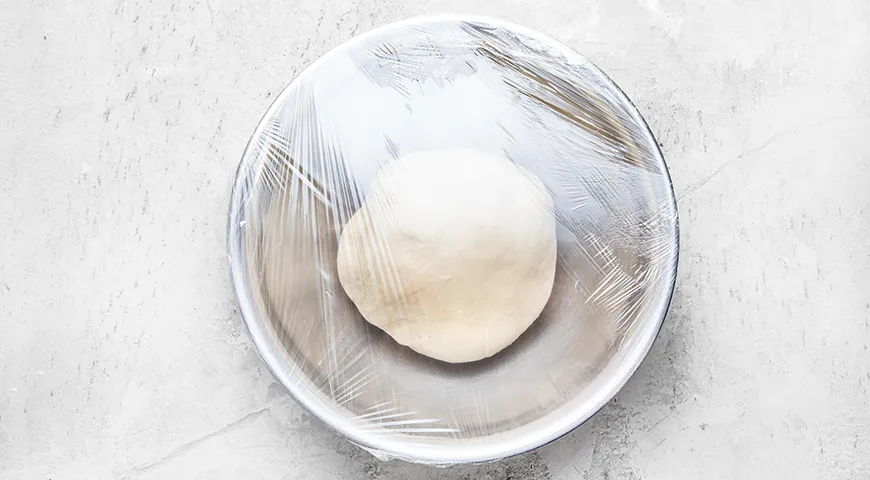
First rise. Lightly oil a deep bowl, place the dough ball inside, cover with plastic wrap, and let it rise in a warm spot for 1–1½ hours, until doubled. For a controlled environment, consider using a commercial countertop convection oven on its lowest setting or a draft‑free spot in your kitchen.
-
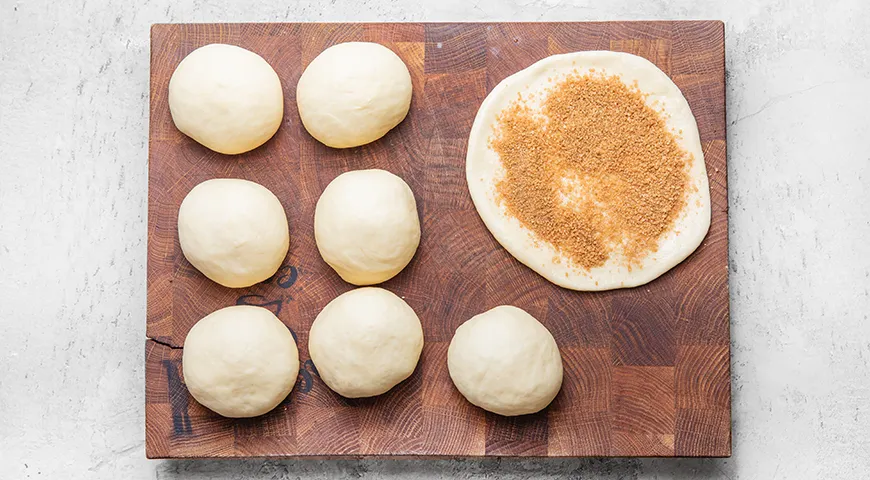
Shape the buns. Punch down the risen dough, divide into 8 equal pieces. Roll each piece into a ball, then flatten into a 5‑mm‑thick disc. Brush each disc with vegetable oil and sprinkle with sugar, poppy seeds, or cinnamon—or try a mix of chopped chocolate‑covered raisins for a sweet twist.
-
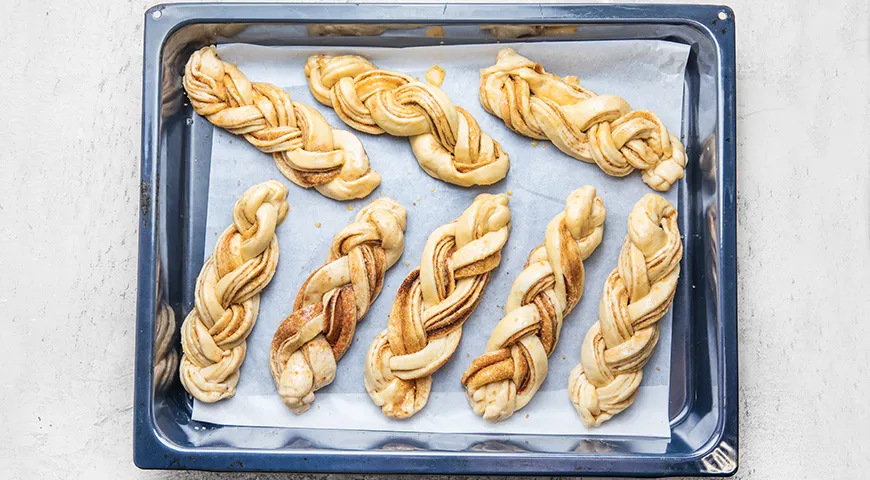
Braid each bun. Roll the disc into a tight cylinder, then gently roll it out with a rolling pin to flatten slightly. Using a sharp knife, cut the cylinder lengthwise into 3 strips, leaving the end intact. Braid the strips, then tuck the ends underneath to secure. Repeat with all pieces.

-
Final proof and bake. Place the braided buns on a parchment‑lined baking sheet, spacing them apart. Cover with a kitchen towel and let rest in a warm place for 25–30 minutes. Meanwhile, preheat your oven to 200 °C (400 °F)—a wall oven microwave combo with air fryer works beautifully for even heat distribution. Whisk the egg yolk with 1 tsp milk, brush over the risen buns, then bake for 20–25 minutes until deep golden brown.
Tips for Perfect Plaited Buns
- Temperature matters: Ensure milk is between 36–40 °C—too hot kills yeast, too cold slows activation. An immersion blender with a thermometer attachment can help monitor the temperature precisely.
- Don’t over‑flour: A soft dough yields tender buns. If the dough feels sticky, oil your hands instead of adding more flour.
- Proof patiently: The second rise is crucial for fluffy texture. A 48‑inch built‑in refrigerator set to a low temperature can be used for an overnight cold proof to develop flavor.
- Uniform braiding: Keep the strips equal in thickness for an even bake. Practice makes perfect—don’t worry if the first bun is a little lopsided!
- Glaze generously: The egg‑milk wash gives a professional shine. For extra crunch, sprinkle a pinch of sugar on top just before baking.
Variations and Serving Ideas
These buns are endlessly customizable. For a savory version, replace the sugar with grated cheese and herbs before braiding. Alternatively, add a pinch of cinnamon to the dough for a spiced aroma. If you prefer an air‑fried finish, try baking in an air fryer non‑toxic model at 180 °C for about 15 minutes—check frequently. Serve the buns alongside a Catalan sponge cake for an eclectic dessert board, or pair them with a cup of coffee brewed with a best coffee maker for a cozy weekend breakfast. For a touch of elegance, dust with powdered sugar and offer a side of espresso.
Frequently Asked Questions (FAQ)
Can I make these buns vegan?
Yes! Substitute the milk with oat or almond milk, use a flax egg (1 tbsp ground flaxseed + 3 tbsp water) instead of the whole egg, and replace butter with a vegan margarine. The texture may be slightly denser but still delicious.
Why did my bun not rise well?
Common causes include expired yeast, milk that was too hot or too cold, or a drafty proofing environment. Always proof your yeast in warm milk and sugar for 10 minutes before adding to the flour mixture.
Can I freeze the unbaked buns?
Absolutely. After shaping and before the final proof, place the buns on a baking sheet and freeze until solid. Transfer to a freezer bag. When ready to bake, thaw overnight in the refrigerator, then proof and bake as directed. You may need an extra 5 minutes in the oven.
How do I store leftover baked buns?
Store in an airtight container at room temperature for up to 3 days. To refresh, warm in a countertop convection oven at 150 °C for about 5 minutes. Avoid microwaving, as it can make them rubbery.
What other fillings can I use besides sugar and poppy seeds?
Try ground walnuts, shredded coconut, or a sprinkle of cocoa powder. For a gooey center, add a small dollop of jam or chocolate hazelnut spread before rolling. A food processor for nut butter can help you make fresh nut fillings at home.
With their golden crust and tender crumb, these Bulochki Kosichki are destined to become a family favorite. The braiding technique is not only fun but also ensures every bite is perfectly portioned. Enjoy the process, and don’t forget to share the warmth—these buns are best enjoyed straight from the oven, shared with loved ones.


