


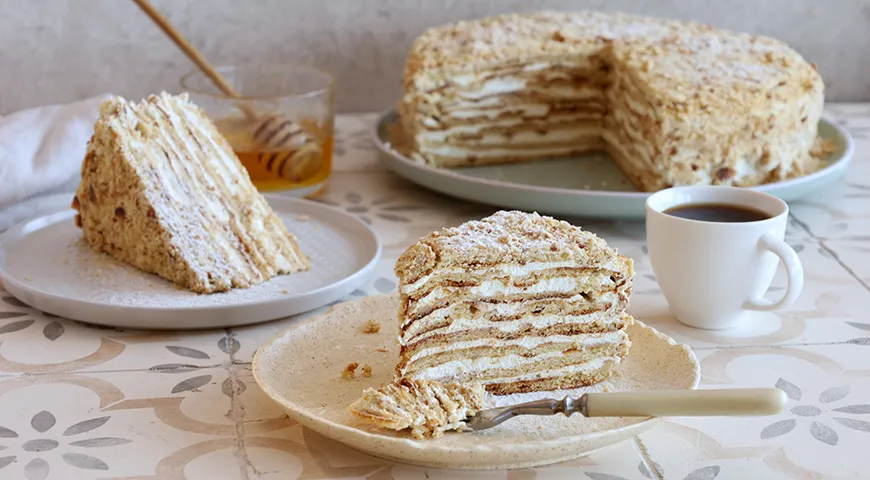
Few desserts embody the soul of Russian home baking like Medovik, the legendary honey cake. Traditionally baked in the oven, this multi-layered marvel can be intimidating to novice bakers. But there is a brilliant, foolproof alternative: making the honey cake layers on a skillet. Using a heavy-bottomed pan transforms the process into a simple, stovetop affair with perfectly thin, tender layers that never dry out. This honey skillet cake recipe demystifies the classic, delivering that same rich caramel-honey flavor and creamy sour cream frosting, all without the guesswork of oven temperatures. Whether you are a seasoned baker or a curious beginner, this method will change the way you think about layered cakes.
About the Recipe
This adaptation of the classic Medovik (also known as Ryzhik or honey cake) embraces the direct heat of a skillet. The dough, enriched with butter, honey, and eggs, is briefly cooked on the stovetop like a giant pancake. The result is a stack of pliable, subtly caramelized layers that absorb the velvety sour cream and condensed milk cream. Unlike oven-baked layers, these remain soft and easy to handle. The recipe requires about 450–500 g of flour, 140 g butter, 120 g sugar, 2 eggs, 100 g liquid honey, 1 tsp soda, plus a luscious frosting made from 400 g of 25% fat sour cream and 120 g sweetened condensed milk. The entire process, from dough to assembly, takes roughly two hours plus chilling time—a weekend project that rewards you with an impressive, deeply flavorful cake.

Ingredients
- 450–500 g all-purpose flour
- 140 g unsalted butter
- 120 g granulated sugar
- 2 large eggs
- 100 g liquid honey (preferably mild or floral)
- 1 tsp baking soda
- 400 g sour cream (25% fat)
- 120 g sweetened condensed milk
Optional: Additional flour for dusting, butter for greasing.
Step-by-Step Instructions
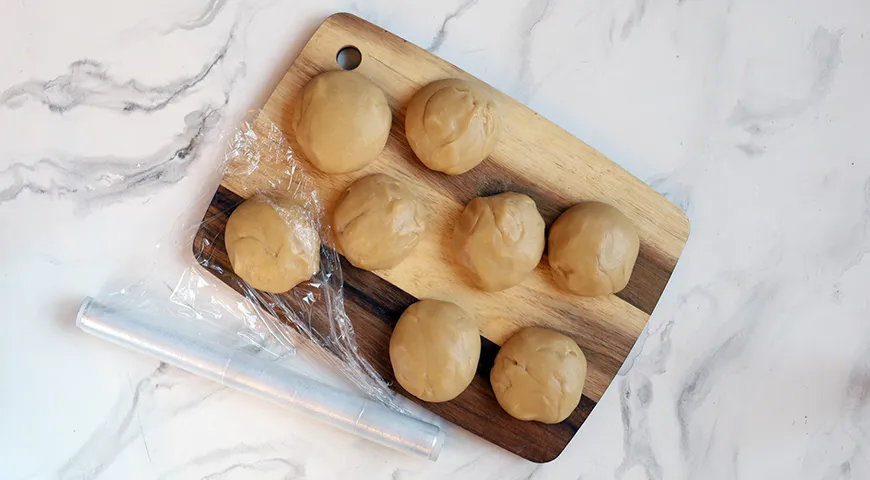
Step 1: Prepare the Dough
Melt the butter in a small saucepan over low heat. Add the honey and warm the mixture gently—do not boil. Remove from heat, stir in the baking soda (it will foam), and set aside. In a separate bowl, beat the eggs with sugar until pale and fluffy. Combine the honey-butter mixture, eggs, and flour gradually, kneading a soft, slightly sticky dough. Divide into 6–8 equal pieces, roll each into a ball, wrap in plastic, and refrigerate for 30 minutes. This rest makes the dough easier to roll.
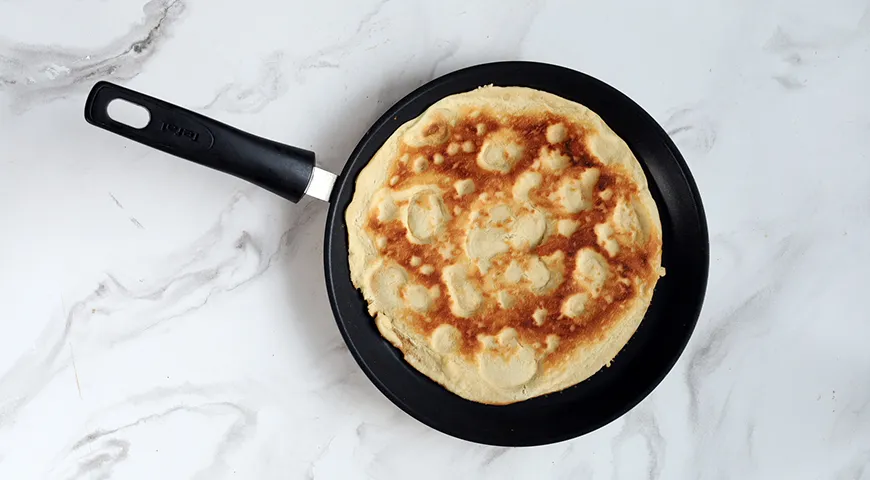
Step 2: Cook the Layers
Heat a heavy-bottomed non-stick or cast-iron skillet over medium heat. Lightly dust your work surface with flour. Roll one ball of dough into a very thin circle, about 2–3 mm thick. Place it onto the dry hot skillet. Cook for 2 minutes, until the underside is golden with darker spots. Carefully flip with a spatula and cook for another 1–2 minutes. The layer should be pliable but set. Transfer to a cutting board. Repeat with remaining dough, stacking the finished layers.
Step 3: Trim and Make Crumbs
Once all layers are cooked and cooled, use a sharp knife to trim the uneven edges into a neat circle. Reserve all the trimmings. For the crumb coating, place the trimmings into a tall container and pulse with an immersion blender or food processor until finely ground. If using a non-toxic immersion blender is convenient; otherwise, a food processor works beautifully.

Step 4: Assemble the Cake
Make the cream: whisk together the sour cream and condensed milk in a bowl. Use an electric mixer or planetary mixer for a few minutes until smooth and slightly thickened. Place one layer on a serving plate. Spread a generous amount of cream evenly over it. Repeat with all layers, stacking them gently. Finish by coating the top and sides with remaining cream. Sprinkle the reserved crumb mixture over the entire cake, pressing lightly. Chill in the refrigerator for at least 2 hours (overnight is best) to let the layers soften.

Tips for Success
- Roll the dough as thin as possible; thicker layers will be tough. Use oil sprayer to lightly grease the rolling pin if needed.
- Keep the skillet dry—no oil needed. A heavy cast-iron skillet gives even heat.
- If your dough becomes sticky during rolling, dust with a little flour. Alternatively, roll between two sheets of parchment paper—this minimizes extra flour that could burn on the skillet.
- For a deeper honey flavor, use a quality organic honey or a dark varietal like buckwheat.
Variations
Substitute the sour cream frosting with a classic smetana (sour cream) enriched with sweet wine for a subtle boozy note. Add chopped walnuts or dried apricots between layers for texture. For a dairy-free version, use coconut cream and dairy-free condensed milk. You can also add a pinch of cinnamon or cardamom to the dough for a spiced twist.
Frequently Asked Questions
Why is my honey cake dough sticky?
Sticky dough is common due to honey and butter. Chill it thoroughly (30 minutes in the fridge) and dust your hands and surface with flour. Using a non-stick spray on your rolling pin can also help.
Can I use a non-stick skillet?
Absolutely. Any heavy-bottomed non-stick or cast-iron pan works. Just ensure the pan is dry and well-heated before cooking each layer.
How do I store Medovik?
Wrap the cake tightly in plastic wrap or place it in an airtight container. It keeps in the refrigerator for up to 5 days. The flavors improve after a day as the layers soften.
Can I freeze the layers or the assembled cake?
Yes. Cooked layers can be stacked with parchment and frozen for up to 2 months. The assembled cake freezes well for up to 1 month. Thaw overnight in the fridge before serving.
Why does my cream turn watery?
Sour cream with low fat content can separate. Use 25–30% fat sour cream and do not over-whip. A consistent refrigerator temperature helps maintain cream stability.
Can I make this gluten-free?
Yes. Substitute the all-purpose flour with a gluten-free 1:1 baking blend. The texture will be slightly different but still delicious. Use a high-powered blender to make your own gluten-free flour mix.
How do I get perfect round layers without a cutter?
Use a plate or cake ring as a template. Trim after cooking while the layers are still warm for clean edges. Save the scraps for the crumb coating.
Conclusion
This honey skillet cake recaptures the warmth of a Russian grandmother’s kitchen with a modern, accessible approach. The stovetop method eliminates oven anxiety and yields consistently tender layers, while the classic sour cream and condensed milk cream brings nostalgic comfort. Whether you serve it for a holiday table or as a weekend baking project, Medovik from a skillet will earn a permanent place in your repertoire. Pair it with a cup of strong tea or a dollop of extra cream—this is cake meant to be shared.
For more inspiration, explore our Catalan sponge cake recipe or learn about the best non-toxic air fryers for additional baking projects. If you're stocking a baker’s kitchen, check our guide to the best commercial countertop convection ovens.


