


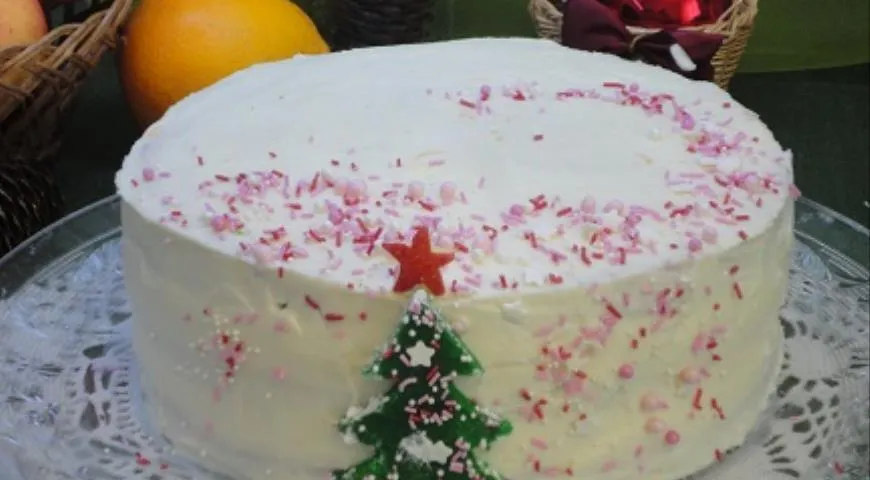
There is something magical about a cake that captures the essence of a holiday season—the warmth of cinnamon and apples, the brightness of citrus, and the tenderness of a well-baked sponge. This New Year's Sponge Cake with Apples is a cherished Russian tradition, evoking memories of old-fashioned Christmas trees adorned with real apples and sweets. Every bite offers a delicate balance of fluffy biscuit, juicy fruit filling, and a soaking syrup that infuses the cake with heady orange and lemon notes. Whether you are hosting a festive dinner or simply craving a refined dessert, this cake is sure to impress.
About This New Year's Classic
In Russia, New Year's celebrations are steeped in symbolism. Apples, nuts, and candies once decorated the holiday tree, and those same ingredients naturally found their way onto the festive table. This sponge cake honors that heritage: apples add moisture and subtle fruitiness, while citrus zest delivers the intoxicating aroma many associate with Christmas and New Year. The recipe has been passed down for generations, and our version elevates it with precise techniques and a luxuriously creamy frosting. For those new to Russian baking, it is a wonderful introduction to the art of layered cakes. If you enjoy exploring traditional sweets, you might also love our Catalan sponge cake recipe for a different European twist.

Ingredients
For the Sponge (18–20 cm diameter cake):
4 large eggs
120 g granulated sugar
10 g vanilla sugar (or 1 tsp vanilla extract)
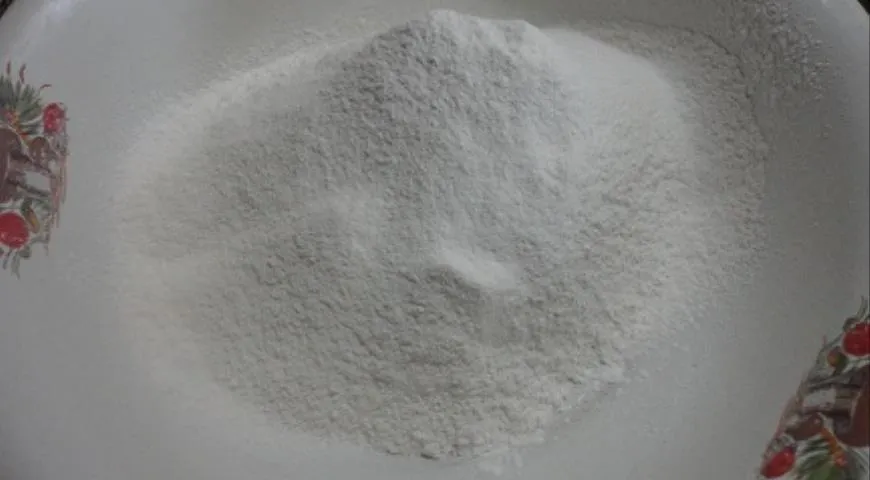
120 g all-purpose flour
¼ tsp salt
1 tsp baking powder
For the Apple Filling:
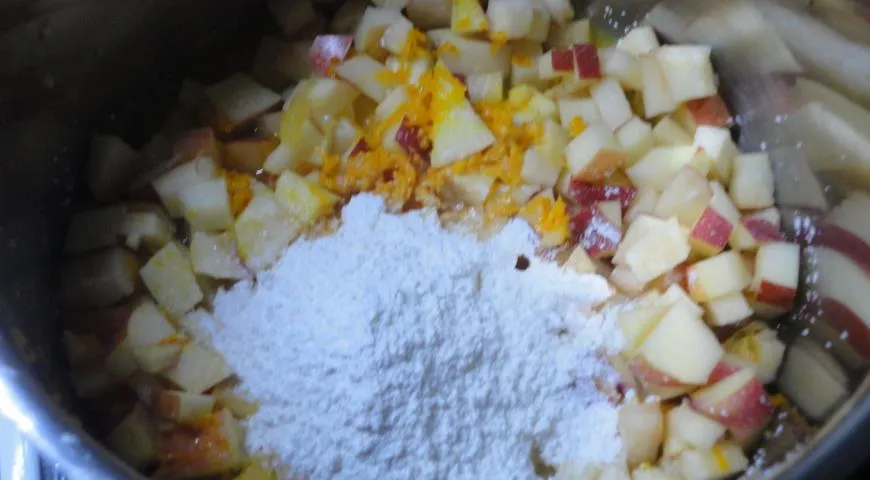
3 medium apples (about 400 g), peeled and diced
Zest of 1 lemon
Zest of 1 orange
60 ml orange juice (freshly squeezed)
20 ml lemon juice
50 g granulated sugar
20 g cornstarch
For the Soaking Syrup:
30 g honey
60 ml orange juice (freshly squeezed)
Zest of 1 orange
Juice and zest of ½ lemon
For the Cream:
250 g unsalted butter, softened
200 g cream cheese, room temperature
200 g powdered sugar
1 tsp vanilla extract
Equipment: Use a planetary mixer for effortless sponge beating, and an oil sprayer to lightly grease your pan if desired (though we recommend lining with parchment and leaving sides ungreased).
Step-by-Step Instructions
Step 1: Bake the Sponge
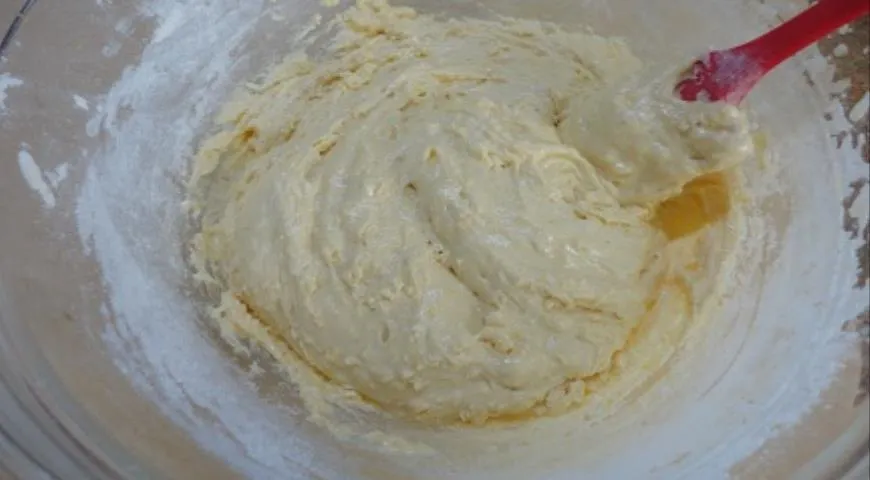
Preheat the oven to 180°C (350°F). In a large bowl, beat the eggs with granulated sugar and vanilla sugar using an electric mixer until thick, pale, and tripled in volume—about 8–10 minutes. In a separate bowl, sift together the flour, salt, and baking powder. Gently fold the dry ingredients into the egg mixture using a spatula, being careful not to deflate the batter. Transfer the batter to a round baking pan (diameter 18–20 cm) lined with parchment paper on the bottom. Do not grease the sides; this helps the sponge rise evenly. Bake for 45 minutes, or until a skewer inserted into the center comes out clean. Let the cake cool completely in the pan on a wire rack.
Step 2: Cool and Rest the Sponge
Once the sponge is completely cool, wrap it tightly in plastic wrap and refrigerate for at least 3–4 hours, preferably overnight. This resting step allows the crumb to become more pliable and easier to slice evenly. Using a food processor can help chop any leftover apple scraps for another use, but for now, focus on the cake.
Step 3: Prepare the Apple Filling
Dice the apples into small cubes. In a saucepan, combine apples, lemon zest, orange zest, orange juice, and lemon juice. In a small bowl, whisk together the sugar and cornstarch, then add to the saucepan. Stir well and bring the mixture to a boil over medium heat, stirring constantly. Once it thickens to a jam-like consistency, remove from heat and let it cool completely. The filling should be glossy and fragrant.
Step 4: Make the Soaking Syrup
In a small saucepan, combine honey, orange juice, orange zest, lemon juice, and lemon zest. Bring to a boil, then remove immediately from heat. Let cool to room temperature. This syrup will be brushed onto each cake layer to keep the sponge moist and infuse it with bright citrus notes.
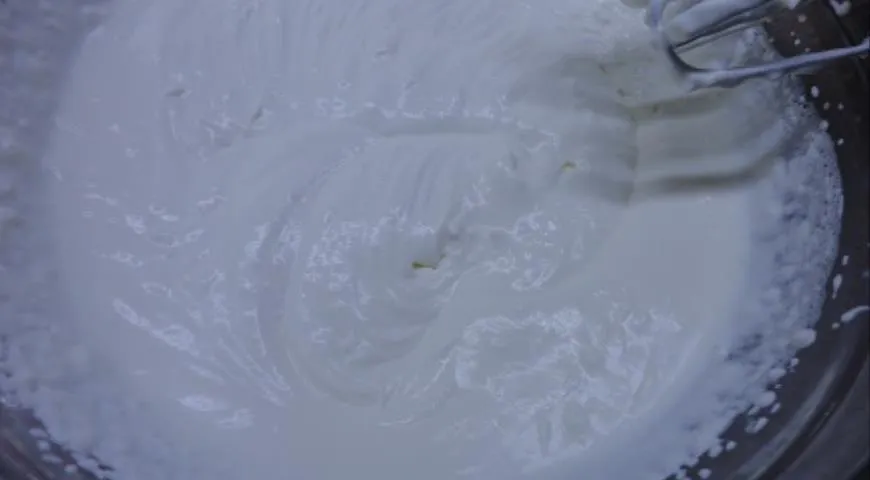
Step 5: Prepare the Cream
In the bowl of a stand mixer fitted with the paddle attachment, beat the softened butter until creamy. Add the cream cheese, powdered sugar, and vanilla extract, and beat on medium speed until light, fluffy, and smooth—about 3–5 minutes. Do not overbeat, or the cream may separate. A non-toxic immersion blender is not needed here, but your mixer is crucial.

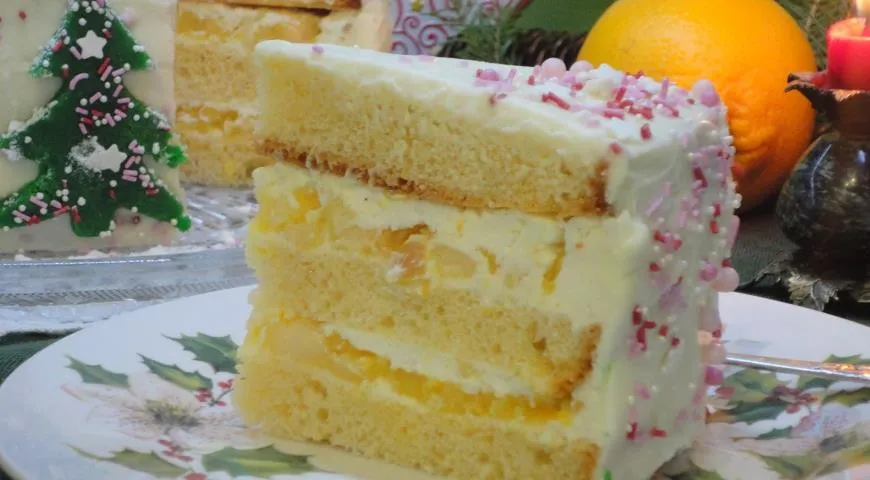
Step 6: Assemble the Cake
Remove the chilled sponge from the refrigerator and slice it horizontally into 3–4 even layers (use a long serrated knife for best results). Place the first layer on a serving plate and brush generously with the soaking syrup. Transfer the cream to a piping bag fitted with a round tip, and pipe a ring of cream around the outer edge of the cake layer to create a barrier. Spread a thin layer of cream inside the ring, then spoon about one-third of the apple filling over the cream. Top with another cake layer, brush with syrup, and repeat the process—cream, filling, cream—for each subsequent layer. Finish with the final sponge layer, brush it with syrup, and spread a thin crumb coat of cream over the entire cake. Refrigerate for at least 4 hours (or overnight) to allow the flavors to meld and the cake to set. For best results, use a reliable refrigerator to maintain steady temperature.
Tips for Perfection
- Chill the sponge thoroughly: A well-rested sponge slices cleanly without crumbling. Alternatively, you can freeze the wrapped sponge for 1 hour before slicing.
- Adjust sweetness: If your apples are very tart, increase the sugar in the filling by 10–15 g.
- Even layers: Use a cake leveler or a ruler and knife to ensure all layers are uniform thickness. For precision cutting, consider a microwave pressure cooker is unrelated, but a good knife is key.
- Soaking syrup: Use a pastry brush to apply syrup evenly; do not oversaturate, or the cake may become soggy.
- Piping cream: A piping bag gives you control for the decorative border. If you don't have one, a zip-top bag with the corner snipped works fine.
Variations
- Spiced Version: Add ½ teaspoon of cinnamon and ¼ teaspoon of nutmeg to the sponge batter for cozy winter warmth.
- Caramel Drizzle: Replace the honey in the syrup with caramel sauce for a deeper flavor profile.
- Nutty Crunch: Sprinkle finely chopped toasted almonds or walnuts between the layers for added texture.
- Dairy-Free: Substitute the butter and cream cheese with high-quality dairy-free alternatives. An air fryer might be used for quickly toasting nuts, but not for the cake itself.
FAQ
Can I use other fruits besides apples?
Yes—pears, quince, or even a mix of apples and cranberries work beautifully. Adjust sugar according to the fruit's sweetness. For a tropical twist, try mango, but note that it will change the moisture balance.
How should I store the cake?
Cover the cake with a cake dome or plastic wrap and refrigerate for up to 3 days. The flavors actually improve after a day. Bring to room temperature 20 minutes before serving for optimal texture. A ice maker is handy for cocktails to serve alongside, but not necessary for storage.
Can I freeze this cake?
Yes, the assembled (undecorated) cake freezes well for up to 2 months. Wrap tightly in plastic wrap and foil. Thaw overnight in the refrigerator before frosting and serving. Using a refrigerant leak detector is overkill but ensures your freezer stays safe.
What if I don't have a springform pan?
A regular round cake pan works fine—just line the bottom with parchment and cut out a parchment strip for the sides if you wish. The sponge will dome slightly; you can level it with a knife after cooling. A commercial countertop convection oven is not needed; a standard oven works.
Can I make the sponge without a mixer?
Hand-whisking is possible but requires considerable effort to incorporate enough air. For best results, use an electric hand mixer or a planetary mixer as mentioned earlier.
Is there a gluten-free alternative?
Substitute the all-purpose flour with a 1:1 gluten-free flour blend that contains xanthan gum. The texture will be slightly denser but still delicious. Check that your baking powder is gluten-free as well. An organic vodka pairing is optional for a festive toast.
Why is the sponge wrapped in plastic and chilled before slicing?
Resting allows the gluten to relax and the starches to set, making the sponge less prone to crumbling. This is a critical step for achieving clean, even layers. For more baking science, explore our chocolate-covered raisins article—it's not related to cake but pairs beautifully with coffee.
This New Year's Sponge Cake with Apples is more than a dessert—it is a celebration of tradition, flavor, and the joy of sharing something handmade. Serve it with a dusting of powdered sugar, a dollop of whipped cream, or simply as it is, and let every forkful transport you to a cozy winter evening.


