


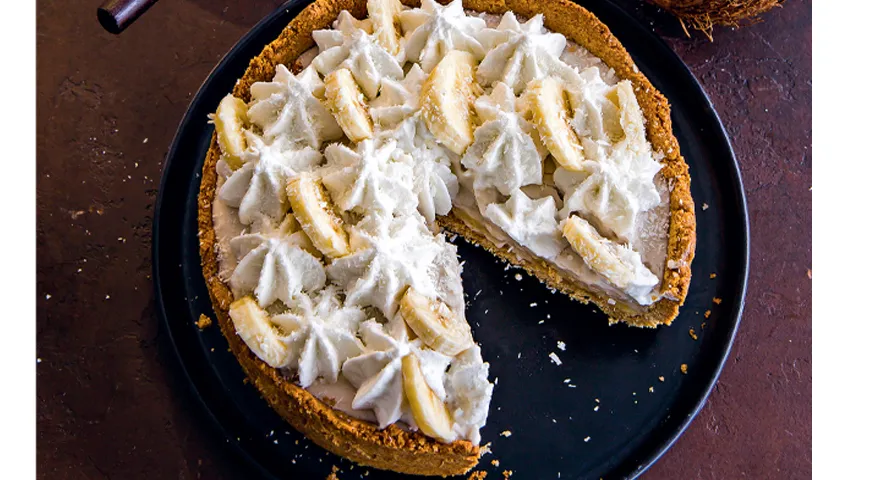
This Banana Cream Tart is a plant-based dessert that unites a crunchy oat-almond crust, a silky banana-infused custard, and a cloud-like coconut whipped cream. Each slice offers layers of texture and tropical sweetness, making it an elegant finale for dinner parties or a comforting weekend treat. Perfect for those who crave refined desserts without dairy or gluten, this tart invites creativity and rewards patience with a sublime taste.
About This Tart
Inspired by classic French tarts, this version replaces refined flour with a blend of rolled oats and almonds, creating a nutritious, nutty base. The filling relies on ripe bananas for natural sweetness and a velvety texture, while coconut milk adds richness without dairy. The result is a dessert that feels indulgent yet aligns with modern dietary preferences. Whether you are exploring plant-based baking or simply love banana, this tart elevates the humble fruit into a showstopper.

Ingredients
For the crust: 0.75 cup (90 g) rolled oats, 0.75 cup (100 g) almonds, 2 tbsp (30 g) brown sugar, 0.25 tsp salt, and 2–3 tbsp melted coconut oil. For the filling: 450 ml coconut milk (full-fat), 60 g brown sugar, 2 tsp vanilla sugar, 2 tbsp cornstarch, 2–3 ripe bananas, and 3–5 tbsp powdered sugar (optional for cream). Additional: 450 ml plant-based milk (such as almond or oat) for the custard base—note the original recipe uses only the coconut milk, but for best results separate a second milk for the filling. Also, 2 tsp vanilla sugar for the cream.
Step-by-Step Instructions
Step 1: Prepare the crust. Preheat oven to 180°C (350°F). In a glass food processor, combine almonds, oats, salt, and brown sugar. Blitz into a fine flour. Add melted coconut oil and pulse until the mixture holds together when squeezed. If too crumbly, add a bit more oil. Press the dough into a springform pan, using the bottom of a glass to compact it evenly against the sides and base.
Step 2: Bake the crust. Place the pan in the oven and bake for 15 minutes at 180°C. Increase heat to 190°C (375°F) and bake another 10 minutes until golden. Remove and cool completely at room temperature. A wall oven microwave combo with air fryer can help achieve even browning if you have one.
Step 3: Make the banana custard filling. In a small saucepan, whisk together 450 ml plant-based milk, brown sugar, vanilla sugar, and cornstarch. Cook over medium-low heat, stirring constantly with a whisk, until the mixture thickens (4–6 minutes). Remove from heat, let cool slightly, then cover the surface with plastic wrap to prevent a skin from forming. Refrigerate for 2–3 hours until fully chilled. Using a non-toxic immersion blender can ensure a lump-free custard if needed.
Step 4: Whip the coconut cream. Open the can of coconut milk and skim off the thick white cream (discard the watery liquid or reserve for smoothies). Place the cream in a bowl, add vanilla sugar and powdered sugar to taste, and whip with a hand mixer or a planetary mixer at high speed until fluffy and stiff peaks form. Refrigerate for at least 30 minutes.
Step 5: Assemble the filling. Fold half of the whipped coconut cream into the chilled banana custard until smooth. Slice two ripe bananas into thin rounds and arrange them in a single layer over the cooled crust. Pour the custard mixture over the bananas, spread evenly, and cover with plastic wrap. Chill the tart for at least 4 hours (overnight is best) to set completely. A spacious built-in refrigerator makes this step effortless.
Step 6: Decorate and serve. Before serving, dollop or pipe the remaining whipped coconut cream over the tart. Top with fresh banana slices and a dusting of cinnamon or cocoa if desired. For a crunchy garnish, sprinkle chocolate-covered raisins or toasted coconut flakes.
Tips for Perfection
Use very ripe bananas for maximum sweetness and a smooth custard. Chill the tart overnight for the cleanest slices. If your coconut cream doesn’t whip well, chill the can and the bowl before whipping. For a nut-free crust, replace almonds with sunflower seeds and process in a food processor for nut butter. To speed up cooling, use an undercounter ice maker for ice baths.
Variations and Serving Ideas
Swap bananas for mango or roasted peaches for a seasonal twist. Add a pinch of cardamom or nutmeg to the custard. For a gluten-free version, ensure your oats are certified gluten-free. Serve with a shot of organic vodka in a digestif or pair with a strong coffee brewed in a coffee maker. The tart also works well as a base for a sundae bar—add a dollop of lava flavors syrup for extra decadence.
Frequently Asked Questions
Can I use regular milk instead of plant-based milk?
Yes, dairy milk works, but the tart will no longer be vegan. The texture may be slightly less creamy. For a lighter option, use a oil sprayer to coat the pan with minimal fat.
How long does this tart keep in the fridge?
Up to three days, stored covered. The crust may soften slightly; you can re-crisp it by reheating in a non-toxic air fryer at 150°C for a few minutes before serving.
Can I freeze the tart?
Freeze the assembled tart without the whipped topping for up to one month. Thaw in the fridge and add fresh cream and bananas before serving. An microwave pressure cooker can help defrost quickly if needed, but thorough chilling is best to avoid sogginess.
What if my coconut cream doesn't whip?
Ensure the coconut milk is full-fat and has been refrigerated overnight. Use a chilled bowl and beaters. If it still fails, add a teaspoon of cornstarch or agar-agar. A wheatgrass juicer is not needed here, but a good hand mixer is essential.
Can I make the crust without a food processor?
Yes, crush the oats and almonds finely using a rolling pin or a strong blender. Alternatively, pre-ground almond flour and oat flour work well. For a smoother crust, use a espresso machine grinder to powder the nuts.
This banana cream tart proves that plant-based desserts can be elegant, satisfying, and deeply flavorful. With its crisp crust, lush custard, and airy topping, it is sure to become a favorite for birthdays, holidays, or any occasion that calls for a little sweetness. Gather your equipment, take your time, and enjoy every luscious bite.


