


Few dishes capture the soul of Russian home cooking quite like blini—those delicate, golden pancakes that cradle a world of savory fillings. This recipe for blini with meat and mushrooms elevates the classic to a luxurious comfort food, perfect for a festive breakfast, a hearty dinner, or even a show-stopping addition to your Maslenitsa spread. The batter is whisper-thin yet sturdy, while the filling—a succulent blend of beef, earthy mushrooms, and aromatic onions—offers a deeply satisfying umami punch. Whether you are a seasoned blini-maker or a curious newcomer, this step-by-step guide will help you achieve flawless results every time.
About This Recipe
These blini are a celebration of texture and balance. The batter relies on a simple mixture of eggs, milk, flour, and a touch of vegetable oil, resulting in crepes that are tender but strong enough to hold a generous filling. The filling combines ground beef, fresh champignons, and onions, cooked until golden and fragrant. This dish is a wonderful way to use leftover blini—simply reheat and serve. For those who love precision in the kitchen, using a reliable best planetary mixer can ensure a perfectly smooth batter, but a whisk works beautifully too.

Ingredients
- 200 g fresh champignons (mushrooms)
- 2 onions
- 2 tablespoons butter
- Freshly ground black pepper and salt (to taste)
- 400 ml whole milk (lukewarm)
- 200 g all-purpose flour
- 2 large eggs
- 30 ml vegetable oil (plus extra for frying)
- 0.5 teaspoon salt (for the batter)
- 1 clove garlic (optional, for the filling)
- 400 g ground beef (for the filling)
- Sunflower oil for frying
Step-by-Step Instructions
Step 1: Make the Blini Batter
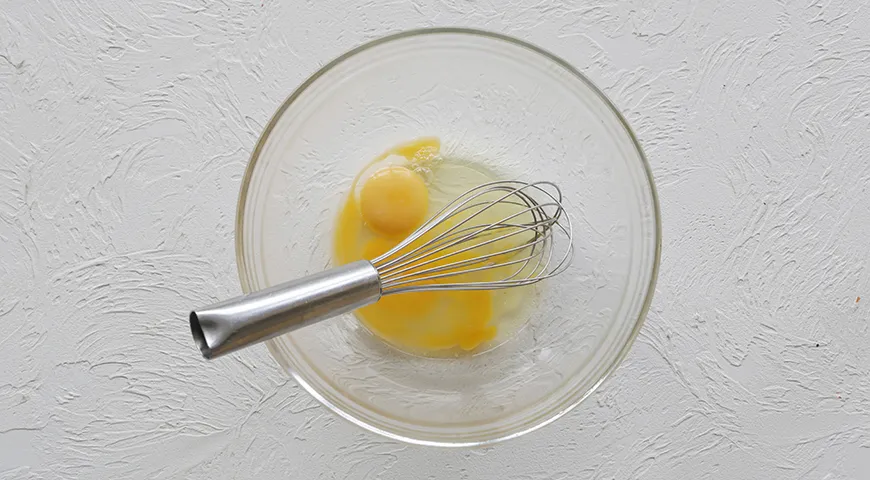
Crack the eggs into a mixing bowl. Add the salt. Whisk vigorously with a hand whisk or an electric mixer on medium speed until the mixture is pale and homogeneous. If you prefer a hands-free approach, an immersion blender can also do the job.
Step 2: Add Milk and Flour
Slowly pour the warm milk into the egg mixture, whisking constantly to incorporate. Sift the flour into the bowl and stir until the batter is smooth and free of lumps. For a refined texture, consider sifting flour using a best food processor for nut butter (with a sifting attachment) if you have one.

Step 3: Add Oil and Rest the Batter
Mix in the vegetable oil until fully combined. Cover the bowl with a clean towel and let the batter rest at room temperature for 30 minutes. This resting step is crucial for tender blini. While waiting, you can check out a non-toxic air fryer for alternative cooking methods.

Step 4: Cook the Blini
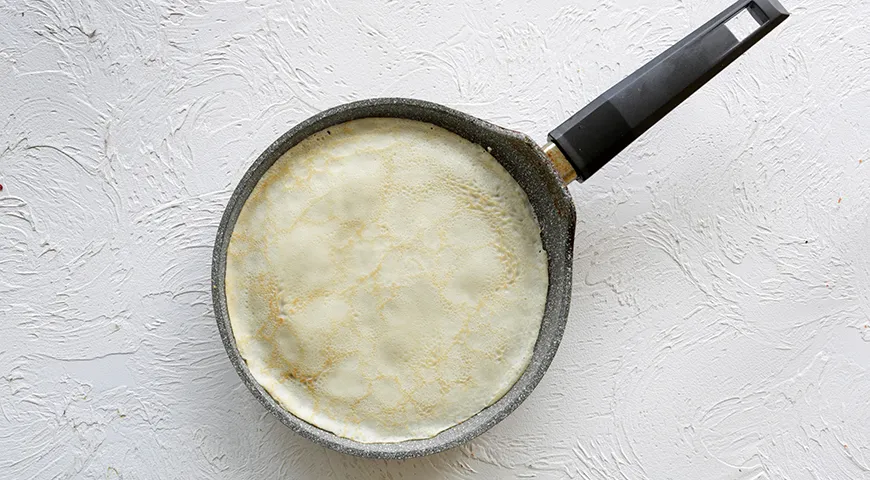
Heat a non-stick skillet or crepe pan over medium-high heat and lightly grease with sunflower oil. Ladle a small amount of batter into the pan, swirling to coat the bottom evenly. Cook for 1–2 minutes until the edges lift and the underside is golden. Flip and cook for another 30 seconds. Repeat with remaining batter. Use a best oil sprayer for even greasing.
Step 5: Prepare the Meat and Mushroom Filling
Finely chop the onions, mushrooms, and garlic. In a large skillet, melt a knob of butter over medium heat. Add the ground beef and cook, breaking it up with a spoon, until browned. Stir in the mushrooms, onions, and garlic. Season with salt and pepper. Cook for 3–5 minutes, stirring occasionally, until the mushrooms have released their liquid and the mixture is dry and fragrant. For perfectly chopped mushrooms, a best glass food processor is ideal.

Step 6: Assemble and Serve
Place a blini on a work surface. Spoon 2–3 tablespoons of filling down the center. Fold the sides over the filling, then roll up tightly. Repeat with remaining blini. Serve warm, garnished with fresh herbs if desired. This dish also freezes well—simply reheat in a microwave pressure cooker for convenience.

Tips for Perfect Blini
- Rest the batter: Allowing the batter to rest relaxes the gluten, resulting in more tender blini. Skip this step only if you are in a hurry.
- Use a thermometer: Milk should be around 40–45°C (104–113°F) to activate the eggs without cooking them. A refrigerant leak detector isn't needed here, but a kitchen thermometer helps.
- Even cooking: For uniform browning, use a well-seasoned pan and adjust heat as needed—blinis should sizzle gently.
- Fill while warm: Assembling blini while they are still slightly warm makes them easier to roll without cracking.
Variations
This versatile recipe invites creativity. Swap ground beef for chicken or turkey for a lighter version. For vegetarians, replace meat with extra mushrooms and sautéed spinach. Add a pinch of nutmeg to the filling for warmth. If you enjoy experimenting in the kitchen, a best espresso machine under 2000 might not be directly related, but it pairs wonderfully with a savory brunch spread.
FAQ
Can I make the batter ahead of time?
Yes, you can refrigerate the batter for up to 24 hours. Stir well before using, as the flour may settle. Bring to room temperature for best results.
How do I prevent blini from tearing?
Ensure the pan is properly greased and not too hot. Also, let the batter rest as directed—this relaxes gluten and makes the blini more pliable.
Can I freeze the filled blini?
Absolutely! Arrange them in a single layer on a baking sheet, freeze until solid, then transfer to a freezer bag. Reheat in a skillet or microwave. Use a best 48 inch built-in refrigerator for ample freezer storage.
What other fillings work well?
Try smoked salmon with cream cheese, sautéed cabbage and egg, or sweet fillings like cottage cheese and jam. For more ideas, check out a Catalan sponge cake recipe for a dessert twist.
Why are my blini not lacy on the edges?
Lacy edges require a slightly thinner batter—add a tablespoon or two of milk. Also, ensure the pan is hot enough; a countertop convection oven won't help here, but a good stovetop pan will.


