


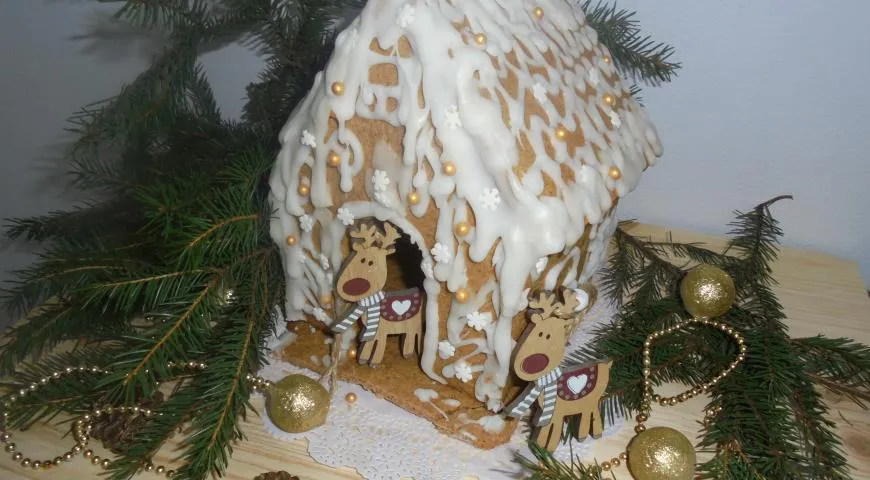
There is something magical about a gingerbread house—a confection that transcends mere baking to become an edible architectural statement. This Gingerbread House with Icing is not just a recipe; it is a creative project that demands precision, patience, and a playful spirit. From crafting the templates to cutting the aromatic gingerbread dough, every step builds toward a moment of sweet triumph. The real artistry, however, lies in the icing: it acts as both adhesive and snowdrift, transforming simple biscuit pieces into a winter wonderland. Whether you are a seasoned baker or a curious novice, this guide will walk you through each stage, ensuring your house stands tall—and tastes divine.
About This Gingerbread House
Originating from medieval Europe, gingerbread houses have long been associated with holiday traditions and architectural creativity. Unlike ordinary cookies, this recipe requires a structured approach: you cannot rely on guesswork. Instead, you begin with cardboard templates, cut walls and roof from a spiced honey dough, and then assemble everything using a sugar-based glue. The result is a fragile yet sturdy construction that smells of cinnamon, ginger, and celebration. For best results, use a planetary mixer to achieve a smooth dough, and ensure your countertop convection oven maintains a steady 180°C.

Ingredients
- For the dough: 250 g all-purpose flour, 100 g brown sugar, 80 g unsalted butter (softened), 60 ml honey, 1 large egg, 1 tbsp ground ginger, 1 tsp ground cinnamon, 1 tsp baking powder, pinch of salt
- For the icing: 200 g icing sugar, 2–3 tbsp lemon juice or water (adjust for consistency)
- For decoration: Edible sprinkles, silver dragées, coloured icing (optional)
Step-by-Step Instructions
Follow these steps carefully to build your gingerbread house. Each stage is accompanied by a visual guide.
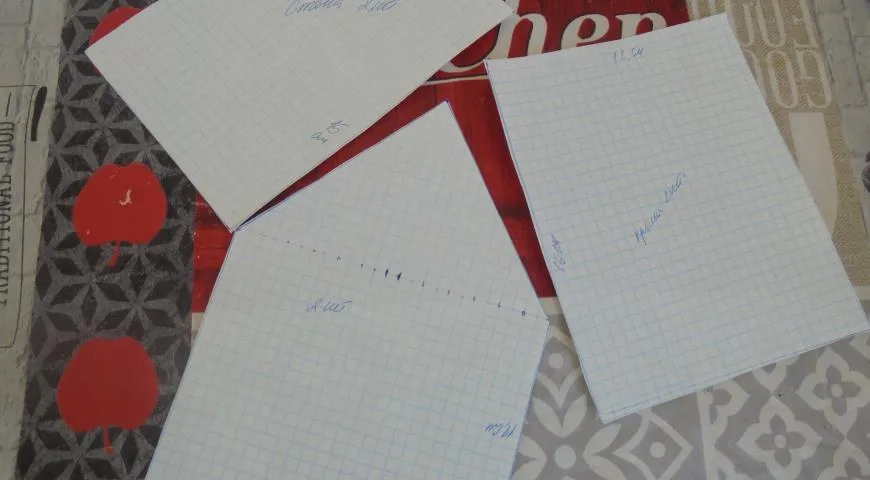
Step 1: Prepare the Templates
Draw and cut out house templates from cardboard or thick paper—two roof pieces, two side walls, one front and one back wall. Include windows and doors if desired. Accuracy here ensures perfect assembly later.
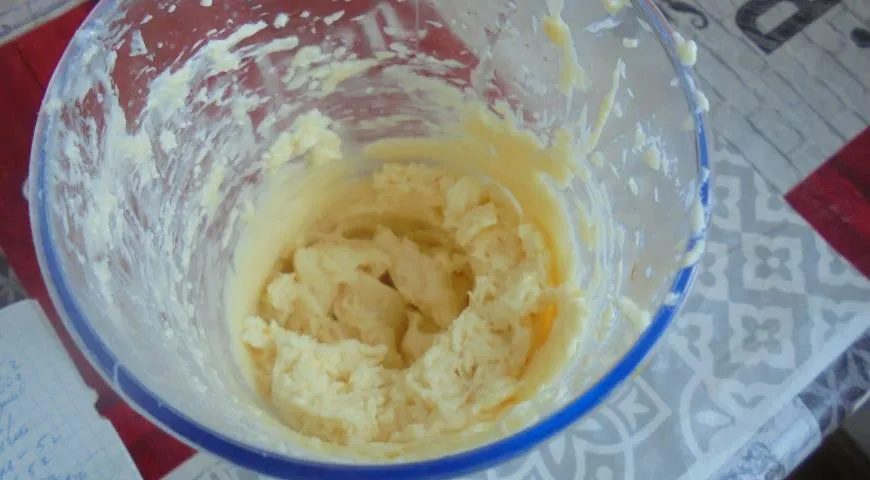
Step 2: Cream Butter, Sugar, and Honey
In a large bowl, beat the softened butter with icing sugar and honey until light and fluffy. Add the egg and mix again. A glass food processor or hand mixer works wonderfully for this.
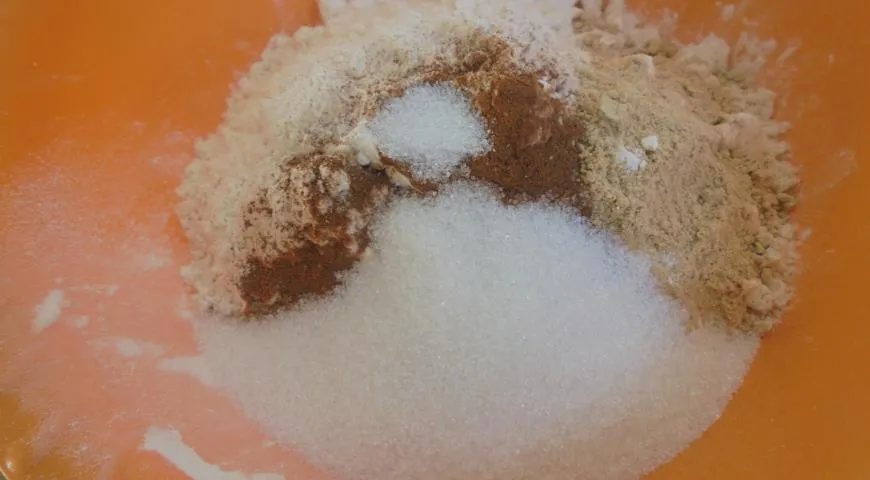
Step 3: Combine Dry Ingredients
In a separate bowl, whisk together flour, ground ginger, cinnamon, baking powder, and salt. This spice blend defines the classic gingerbread aroma.
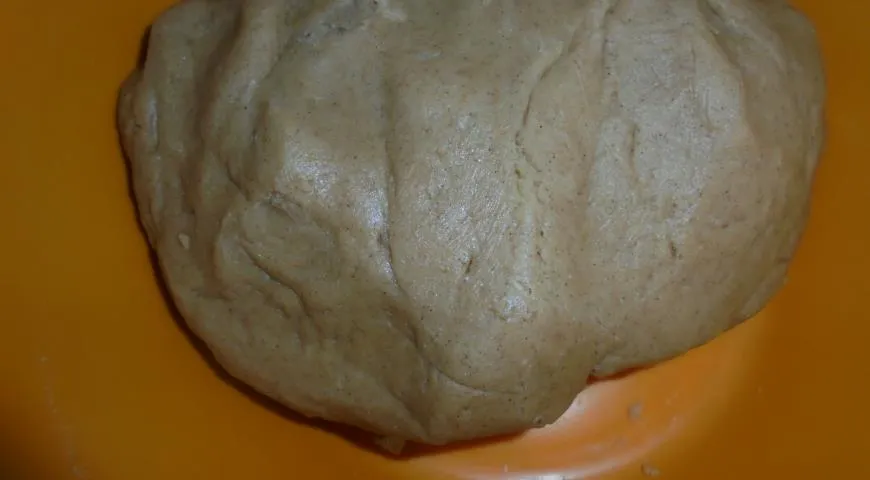
Step 4: Make the Dough
Add the dry mixture to the butter mixture and knead until a smooth, elastic dough forms. Wrap in plastic film and refrigerate for 30 minutes. Chilling prevents spreading during baking.
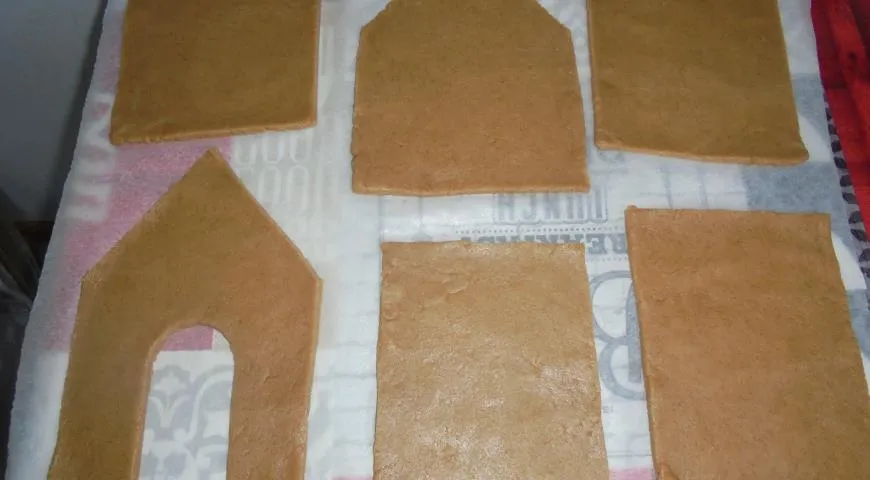
Step 5: Roll and Cut
Roll out the chilled dough to 5 mm thickness. Using your templates, cut out the house pieces: two roof panels, two side walls, and the front and back walls. Cut out windows or doors if you like.
Step 6: Bake and Trim
Bake in a preheated oven at 180°C for 10–15 minutes. While still warm, trim the edges with a sharp knife for clean lines. Allow to cool completely on a wire rack.

Step 7: Prepare the Icing
Gradually add lemon juice or water to icing sugar until you reach a thick, pipeable consistency. Reserve some for assembly and some for decorating. For a smoother texture, use an immersion blender.

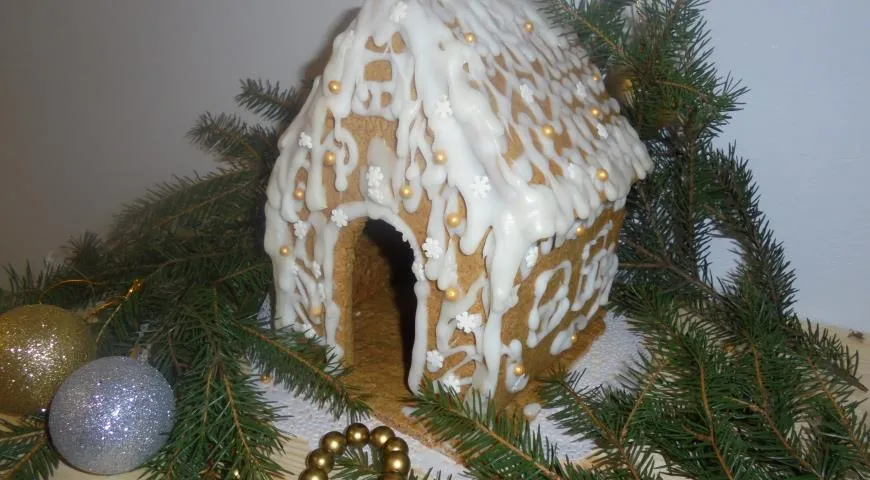
Step 8: Decorate and Assemble
Use a thicker icing for glue—pipe a generous amount along edges and press pieces together. Support with cans or cups until set. Decorate with sprinkles, snowflakes, or coloured icing. Let your imagination run wild. A non-stick oil sprayer can help keep surfaces clean.
Tips for Success
Ensure your dough is evenly rolled—use a juicer for precise thickness? No, but consistent thickness matters. Chill the dough thoroughly to prevent spreading. When baking, check early: ovens vary, and overbaking makes pieces brittle. If your house cracks, repair with a bit of thick icing. For the best glue, chocolate-covered raisins can add weight to support walls, but icing is your primary adhesive. Let the assembled house rest overnight for maximum stability.
Variations
This recipe is endlessly adaptable. Replace honey with maple syrup for a different sweetness. Add orange zest or cardamom for a modern twist. For a gluten-free version, substitute with a Catalan sponge flour blend. Colour the icing with natural dyes—beetroot for red, turmeric for yellow. Create a winter village using multiple small houses. The roof can be dusted with castor oil? No, stick to edible glitter or coconut flakes for snow.
Frequently Asked Questions
Can I make the dough in advance?
Yes, the dough can be refrigerated for up to 3 days or frozen for a month. Thaw in the fridge before rolling. Use a microwave pressure cooker to soften frozen butter quickly if needed.
Why did my house collapse?
Usually due to insufficient drying time or thin icing. Use a thicker sugar paste and let each section set for at least 20 minutes before adding the roof. Supporting walls with small props (like spice jars) helps.
Can I use a premade gingerbread mix?
Absolutely, but homemade yields superior flavour. For a quick version, try a store-bought au jus? No—stick to gingerbread mixes from reputable brands.
How long does a gingerbread house last?
If kept in a cool, dry place, it can last for weeks. Humidity is the enemy. Store in an airtight container or under a glass dome. Avoid using a non-toxic air fryer to re-crisp it—moisture will ruin the icing.
Can I use royal icing instead?
Yes, royal icing (egg whites and icing sugar) is excellent for intricate details. It dries harder than simple sugar glaze, making it ideal for structural elements.


