


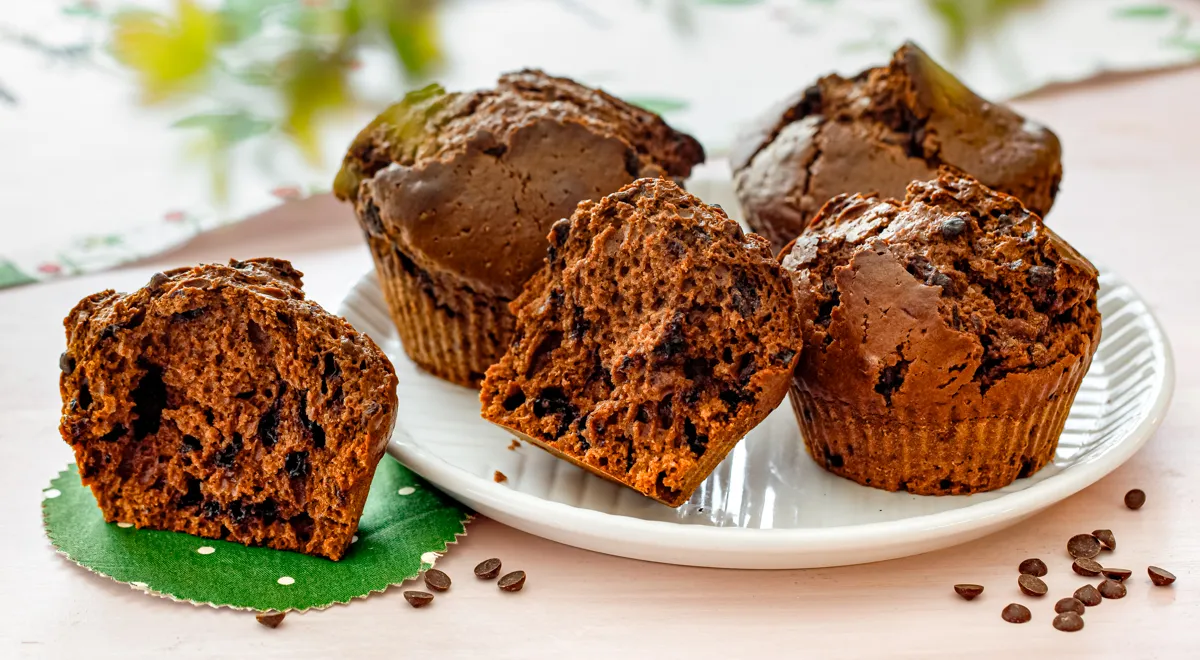
There’s something deeply comforting about a perfectly risen chocolate muffin—tender, moist, and rich with cocoa. This recipe for chocolate muffins baked in silicone molds delivers exactly that, with a simplicity that belies its elegant result. The key lies in a few thoughtful techniques: preheating the oven to 160 °C before mixing the batter, using silicone molds that release without greasing, and adding a whisper of ground coffee to deepen the chocolate flavor. Whether you’re a seasoned baker or just beginning, these muffins are a forgiving canvas for your creativity.
About This Recipe
Derived from the trusted Russian culinary site Gastronom.ru, this recipe transforms everyday ingredients into something truly special. The combination of cocoa powder and instant coffee amplifies the chocolate notes, while the vegetable oil keeps the crumb luxuriously soft for days. Baking in silicone molds is not only convenient—no greasing required—but also produces perfectly shaped muffins with a delicate dome. The process is straightforward, yet each step is designed to ensure even mixing and optimal rise. For more inspiration on silicone baking, explore our guide to non-toxic baking tools that keep your kitchen safe and stylish.

Ingredients
- 300 g wheat flour
- 200 g granulated sugar
- 50 g unsweetened cocoa powder
- 250 g milk (any fat content)
- 120 g refined vegetable oil (neutral flavor)
- 2 large eggs
- 10 g baking powder
- 1 tsp ground coffee (or instant coffee)
- ½ tsp baking soda
- Pinch of salt
- Optional: 100 g chocolate chips or chopped dark chocolate
Step-by-Step Instructions
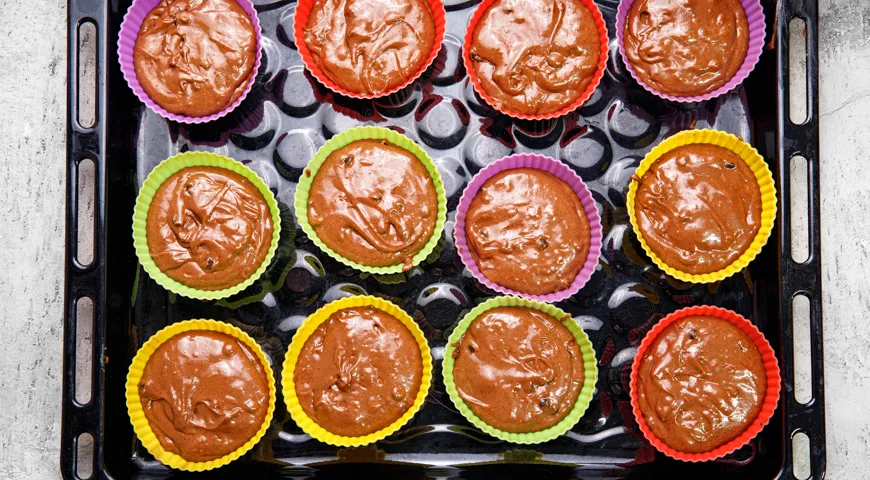
- Preheat and prepare the molds. Before mixing anything, preheat your oven to 160°C (320°F). Silicone molds do not need greasing, but if you’re concerned about release, lightly brush the insides with a neutral oil. Place the molds on a baking sheet for stability.

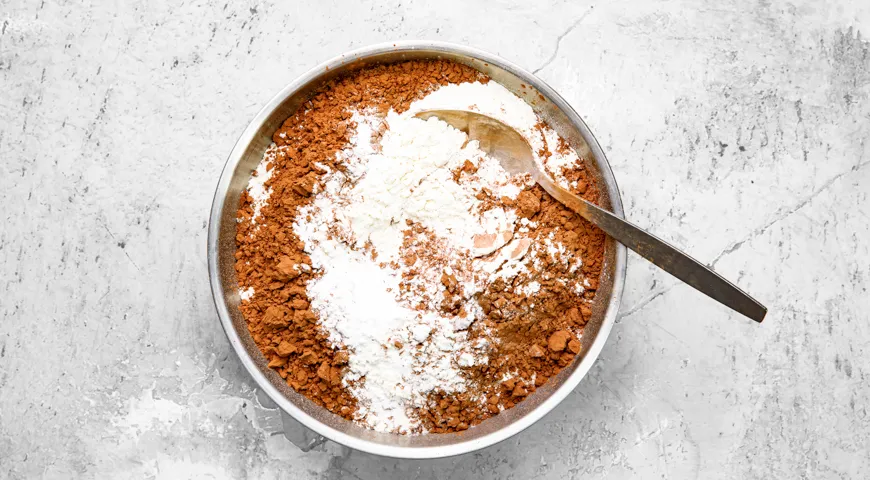
- Combine dry ingredients. In a medium bowl, sift together the flour and cocoa powder. Add the baking powder, baking soda, salt, and ground coffee. Whisk thoroughly to aerate and distribute evenly. Set aside.
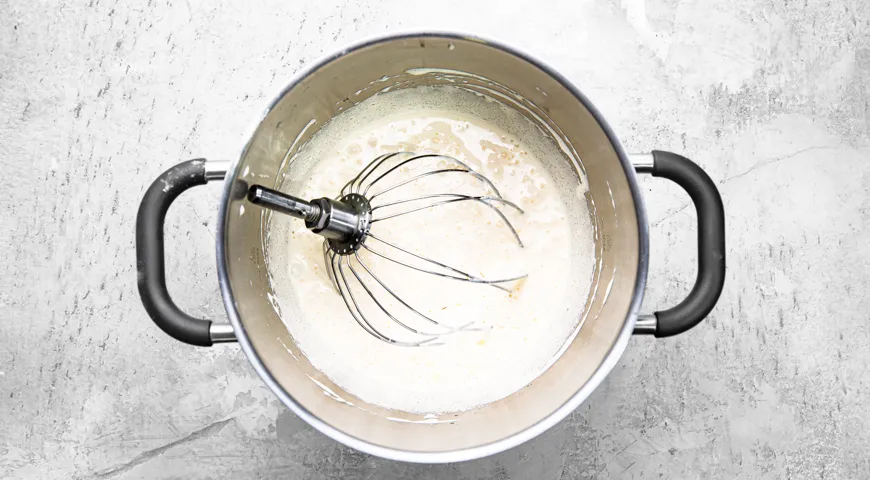
- Beat eggs and sugar. In a separate large bowl, crack the eggs and add the sugar. Using a hand mixer or stand mixer, beat on high speed until pale, thick, and tripled in volume—about 3–4 minutes. Reduce speed to low and drizzle in the vegetable oil, mixing just until incorporated. For best results, use a high-quality planetary mixer to achieve a light, airy base.
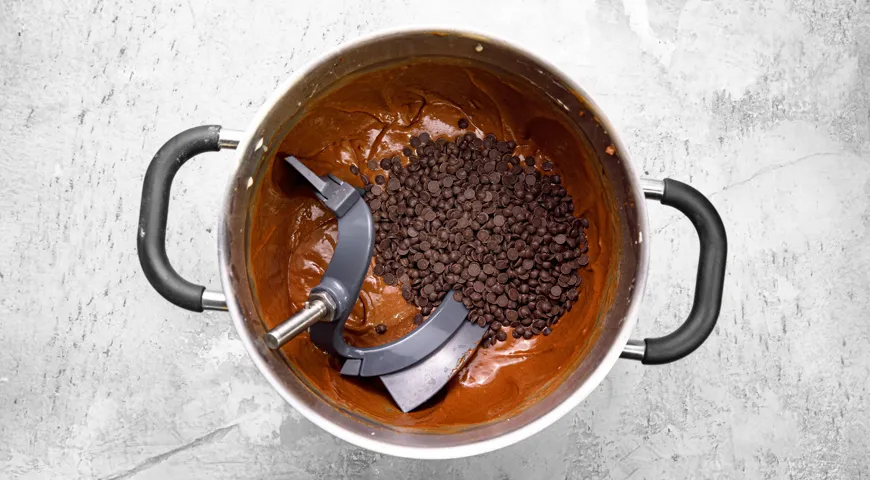
- Alternately add dry and wet. With the mixer on the lowest speed, add about one-third of the dry mixture, then half the milk, mixing until just combined. Repeat with remaining dry and milk, ending with dry. Be careful not to overmix—stop as soon as no flour streaks remain. Fold in chocolate chips if using.
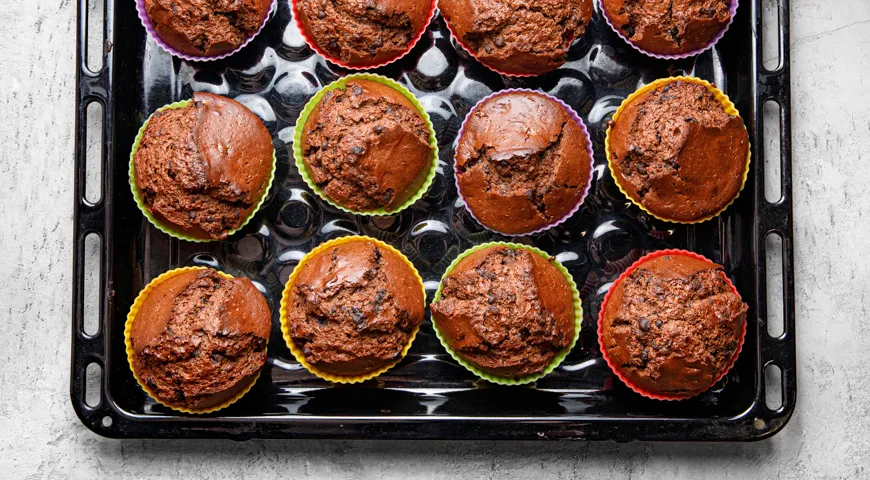
- Fill the molds and bake. Divide the batter evenly among the silicone molds, filling each about two-thirds full—the muffins will rise. Bake in the preheated oven for 20–25 minutes, or until a toothpick inserted in the center comes out clean. The tops should spring back when touched lightly.
- Cool and unmold. Remove the muffins from the oven and let them rest in the molds for 5 minutes, then transfer to a wire rack to cool completely. They may settle slightly—this is normal. Once cool, gently peel away the silicone. The muffins are ready to serve, dusted with powdered sugar if desired.
Tips for Perfect Chocolate Muffins
- For an even richer flavor, replace 50 g of the milk with strong brewed coffee. This pairs beautifully with the cocoa and keeps the crumb extra moist.
- Always measure flour by scooping and leveling, not tapping the cup—this prevents a dense muffin. For precise measurements, consider using a precision scale.
- If your silicone molds are new, wash them with warm soapy water before first use to remove any residual manufacturing oils.
- To make these dairy-free, substitute milk with oat or almond milk and use a neutral oil—the texture remains impeccable.
- Store muffins in an airtight container at room temperature for up to 3 days, or freeze for up to 2 months. Reheat briefly in a non-toxic air fryer to revive their just-baked feel.
Variations to Explore
This base recipe is wonderfully versatile. Fold in 100 g of chopped walnuts or hazelnuts for crunch, or swirl in a layer of peanut butter before baking. For a spicy twist, add ½ teaspoon of cinnamon and a pinch of cayenne. If you prefer white chocolate, replace the dark chocolate chips with an equal amount—the sweetness contrasts the cocoa beautifully. Experiment with different high-quality chocolate inclusions for unexpected bursts of flavor.
Frequently Asked Questions
Can I use paper liners instead of silicone molds?
Yes, but paper liners may require a light spray of oil to prevent sticking. Silicone molds are preferred for their non-stick performance and reusability. They also heat more evenly, producing a softer crust.
Why did my muffins sink in the middle?
This often happens if the oven temperature is too low or the batter is overmixed. Ensure your oven reaches 160°C before baking and mix only until combined. For accurate temperature, use an oven thermometer to verify.
Can I reduce the sugar?
Yes, you can reduce the sugar to 150 g without compromising texture, but expect a less sweet result. Artificial sweeteners are not recommended as they affect the rise and moisture.
What can I substitute for eggs?
For an egg-free version, use 2 tablespoons of ground flaxseed mixed with 6 tablespoons of water, or ½ cup of unsweetened applesauce. The texture will be denser but still delicious. Pair with a splash of vanilla extract for depth.
How do I know when the muffins are done?
Insert a toothpick into the center; it should come out with a few moist crumbs but no raw batter. The tops should be firm and spring back when gently pressed. Baking time may vary slightly depending on your oven and the size of the molds.
Final Thoughts
These chocolate muffins are a testament to the beauty of simple, well-executed baking. The silicone molds make cleanup a breeze, while the coffee and cocoa create a flavor profile that satisfies any chocolate craving. Serve them alongside a cup of your favorite brew, or pack them for lunchboxes and brunches. For more ideas on equipping your kitchen with tools that elevate your baking, explore our reviews of high-performance food processors and powerful immersion blenders. Happy baking!


