


Creating a flawless sugar fondant at home is the secret behind many professional cake decorations. This versatile icing, known in Russian as saharnaya mastika, allows you to achieve a smooth, elegant finish on cakes, cupcakes, and pastries. Unlike store-bought alternatives, homemade fondant offers superior taste and pliability, letting you shape everything from delicate flowers to whimsical figurines. In this guide, we will walk you through every step—from blooming gelatin to rolling out a pristine sheet—ensuring your next celebration cake becomes a masterpiece.
About Homemade Sugar Fondant
Sugar fondant, or saharnaya mastika, is a pliable sugar dough used for covering cakes and creating edible decorations. Its origins trace back to classic European confectionery, where it was prized for its ability to hold intricate shapes while providing a flawless, matte finish. The key to a successful fondant lies in the balance of ingredients: finely powdered sugar, gelatin as a stabilizer, and a touch of honey or glucose for elasticity. By making it at home, you control the sweetness and texture, avoiding the often-grainy mouthfeel of commercial pastes. For those who love precision baking, pairing this recipe with a reliable planetary mixer can simplify the kneading process, ensuring a smooth, lump-free result every time.

Ingredients
- 350 g icing sugar (powdered sugar)
- 25 ml cold water
- 5 g food-grade gelatin
- 1 tablespoon honey (or glucose syrup)
- 10 g vanilla sugar
- 1 pinch citric acid
- Cornstarch (for dusting)
These simple ingredients come together to form a fondant that is both strong and supple. Use the finest organic vanilla sugar for a pure, aromatic flavor, and always sift the icing sugar to avoid lumps that can tear the dough during rolling.
Step-by-Step Instructions
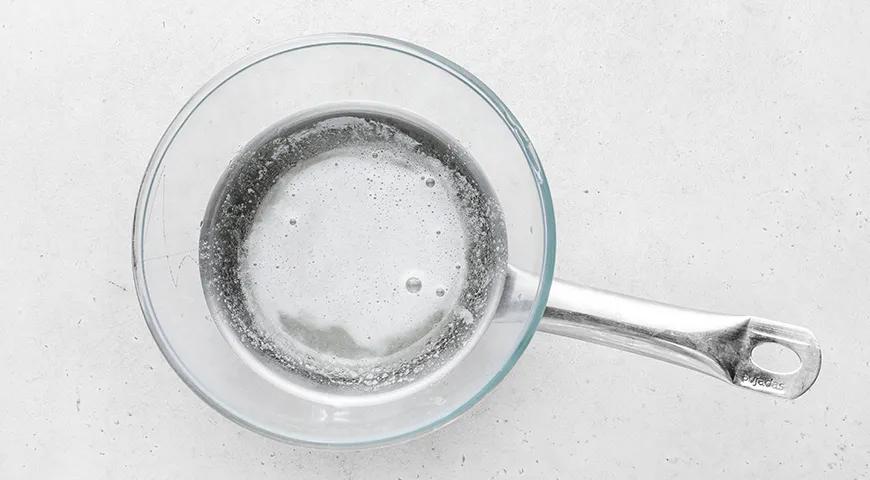
Step 1: Bloom the Gelatin
Begin by pouring the cold water into a small bowl and sprinkling the gelatin evenly over the surface. Let it sit for 10–15 minutes (or as directed on your gelatin package) until the grains absorb the liquid and become spongy. This blooming step ensures a smooth, lump-free dissolution later. While the gelatin rests, you can prepare your work area and gather the remaining ingredients. For precise measurements, a kitchen scale with fine increments is invaluable.

Step 2: Melt the Gelatin Mixture
Place the bloomed gelatin over a water bath or heat it in a microwave in short 10-second bursts, stirring after each interval. Do not let it boil—gentle heat is enough to liquefy the gelatin. Once liquid, stir in the honey, vanilla sugar, and citric acid until fully dissolved. This warm base will later incorporate into the sugar without causing graininess. A microwave-safe bowl works perfectly for this step if you prefer the quick method.
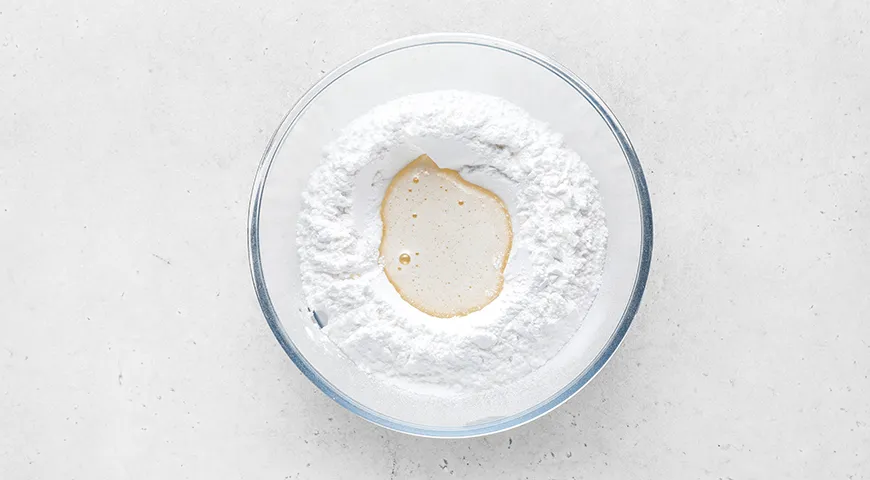
Step 3: Combine with Icing Sugar
Sift the icing sugar into a large, dry bowl to remove any clumps. Make a well in the center and pour in the warm gelatin mixture. Begin stirring with a spoon, then switch to your hands as the dough thickens. The mixture will be sticky at first, but continue working it until it forms a cohesive mass. For larger batches, a glass food processor bowl can help blend the ingredients evenly without overheating.
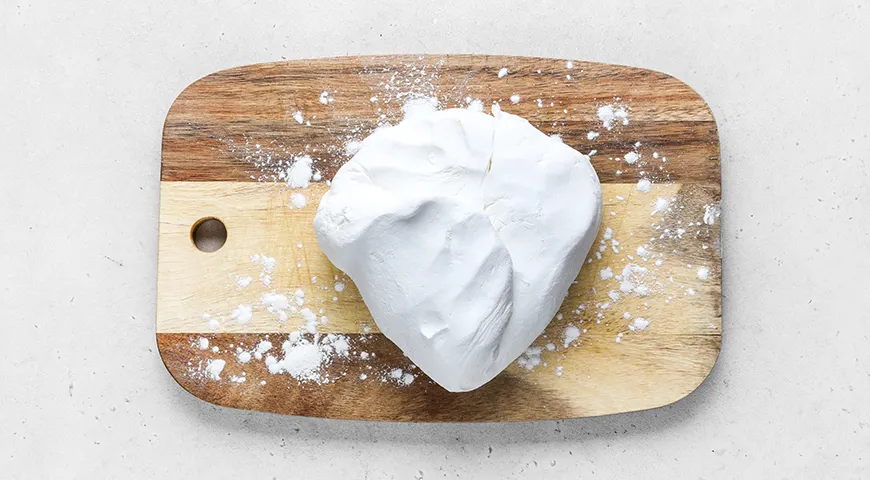
Step 4: Knead the Fondant
Lightly dust your work surface with cornstarch and transfer the fondant onto it. Knead for 5–7 minutes, similar to bread dough, until the fondant is smooth, non-sticky, and silky. Proper kneading activates the gelatin and sugar to create a stretchy, elastic texture that will not tear easily. If the fondant feels too dry, add a drop of water; if too sticky, dust with more cornstarch. Using a fine mist oil sprayer on your hands can prevent sticking without adding extra starch.
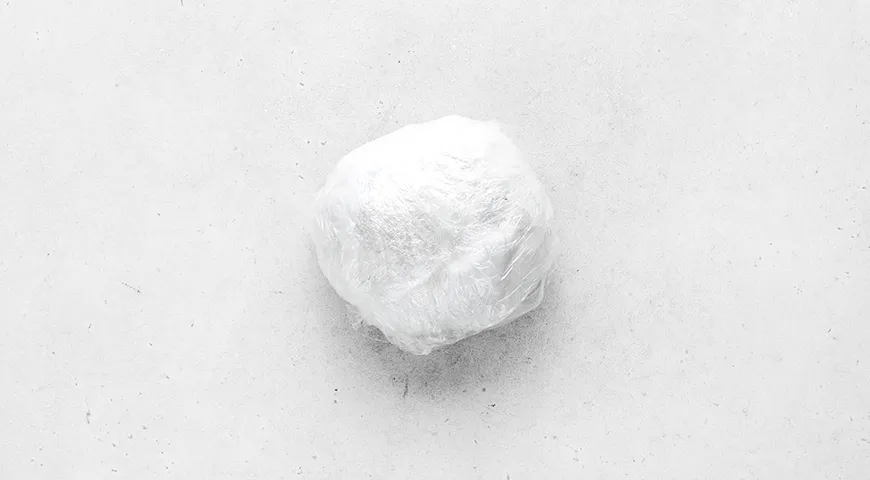
Step 5: Rest the Fondant
Wrap the fondant tightly in several layers of plastic wrap, ensuring no air pockets remain. Let it rest at room temperature for at least 30 minutes (or refrigerate for longer). This resting period allows the gelatin to fully hydrate and the fondant to become more pliable. After resting, the fondant will be easier to roll and less prone to cracking. You can store it in the refrigerator for up to two weeks; just bring to room temperature before using. For optimal freshness, consider storing in an airtight container inside your fridge.
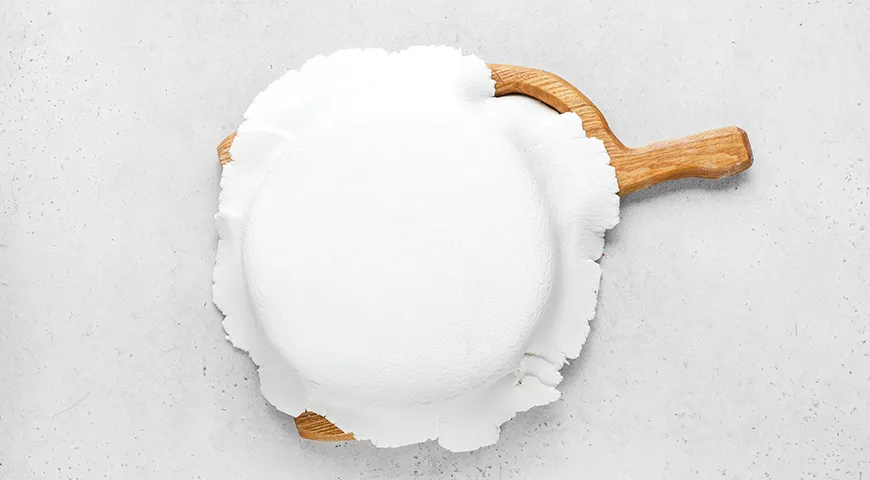
Step 6: Roll and Cover the Cake
Lightly dust your work surface with cornstarch and roll the fondant to a thickness of at least 5 mm. Rolling too thin will highlight any imperfections in the cake’s surface. Cover a well-levelled and crumb-coated cake (ideally with buttercream or chocolate ganache) by draping the fondant gently and smoothing it with a fondant smoother. Trim the excess with a sharp knife. For intricate decorations, you can use leftover fondant to create flowers or shapes. A commercial convection oven is excellent for baking stable cakes that hold up well under fondant.
Tips for Perfect Sugar Fondant
- Sift carefully: Never skip sifting the icing sugar—any lumps will cause tears.
- Cornstarch vs. powdered sugar: Use cornstarch for dusting; powdered sugar can make the fondant overly sweet and sticky.
- Temperature matters: Work in a cool, dry room. Humidity can make fondant tacky, while extreme heat may soften it.
- Resting is crucial: Allow the fondant to rest after kneading to relax the gluten-like structure formed by gelatin.
- Color add-ons: Add gel food coloring after resting for even distribution. Use a non-toxic immersion blender to mix if using high-pigment colors.
Variations
This basic fondant recipe can be transformed in many ways. For a chocolate version, substitute 30 g of icing sugar with unsweetened cocoa powder. For a citrus twist, replace the water with lemon or orange juice (reduce citric acid accordingly). You can also add a few drops of almond or rose extract for a delicate floral note. If you prefer a vegan option, use agar-agar instead of gelatin (follow package instructions for blooming). For more advanced sugar art, a wheatgrass juicer is not directly related, but creative bakers might repurpose it for making natural green coloring from herbs.
Frequently Asked Questions
How long does homemade sugar fondant last?
Stored tightly wrapped in the refrigerator, it can last up to two weeks. For longer storage, freeze for up to three months. Thaw in the refrigerator overnight and knead before use.
Why is my fondant cracking when I roll it?
Cracking usually indicates the fondant is too dry or has been overworked. Add a small amount of water or vegetable shortening and knead again. Also ensure you roll to at least 5 mm thickness.
Can I use honey instead of glucose syrup?
Yes, honey adds a subtle flavor and works well as a humectant, keeping the fondant pliable. However, it may darken the color slightly. For a neutral taste, use light corn syrup or glucose.
What is the best way to color fondant?
Use gel or paste food colorings, as liquid ones can alter the consistency. Add color drop by drop and knead thoroughly. For deep shades, let the colored fondant rest for an hour to allow the color to develop.
My fondant is too sticky—what should I do?
Dust your work surface and hands with cornstarch, and knead in a little more sifted icing sugar until the stickiness subsides. Avoid adding too much sugar, which can make it dry.
How do I prevent fondant from sweating on a cake?
Apply fondant only to a well-chilled cake with a firm crumb coat. Avoid refrigerating the finished cake for longer than necessary; condensation forms when cold cake meets warm air. Store at room temperature if consuming within 24 hours.
Conclusion
Mastering homemade sugar fondant opens a world of creative cake decorating possibilities. With this step-by-step guide, you can produce a silky, versatile icing that rivals any professional product. Whether you are covering a birthday cake or sculpting intricate decorations, the key is patience and practice. For those who enjoy pairing their baking with efficient tools, exploring our non-toxic air fryer reviews might inspire healthier cake alternatives, and our Catalan sponge cake recipe provides an excellent base for fondant coverage. Happy decorating!


