


There is something profoundly comforting about a perfectly executed blin—thin, lacy, golden—wrapped around a savory filling of tender meat and fluffy rice. This Russian classic, known as bliny farshirovannye mjasom i risom, transcends mere sustenance; it is a culinary embrace, a taste of home, and a testament to the art of rustic elegance. Whether served for a family dinner, packed for a work lunch, or taken on a journey, these stuffed blini deliver satisfaction that only homemade food can. The process, far from daunting, is a rewarding ritual: while the rice simmers, the filling browns, and the batter rests, you orchestrate a symphony of flavors that will fill your kitchen with nostalgia and your table with joy.
About Blini Stuffed with Meat and Rice
Blini are the soul of Russian cuisine—thin pancakes with a history stretching back centuries. When filled with a hearty mixture of ground beef and rice, they become a complete meal in themselves. The beauty of this recipe lies in its balance: the tender, slightly tangy kefir-based blini contrast with the savory, aromatic filling. Using a high-quality planetary mixer to beat the batter ensures a silky, lump-free texture, while a reliable non-toxic immersion blender can speed up the process. This dish is not just food; it is heritage on a plate, meant to be shared and savored.

Essential Ingredients
- 250–300 g all-purpose flour
- 300 ml kefir (full-fat preferred)
- 1500 ml boiling water
- 1 large egg
- ½ teaspoon salt
- 1 tablespoon sugar
- ¼ teaspoon baking soda
- 2–3 tablespoons vegetable oil (plus extra for frying)
- 1 medium onion, finely chopped
- 200 g ground beef (or a mix of beef and pork)
- 50 g long-grain rice
- Salt and freshly ground black pepper to taste
For an even more refined result, consider using a glass food processor to chop the onion and blend the filling. The kefir lends a subtle tang that beautifully complements the meat.
Step-by-Step Preparation
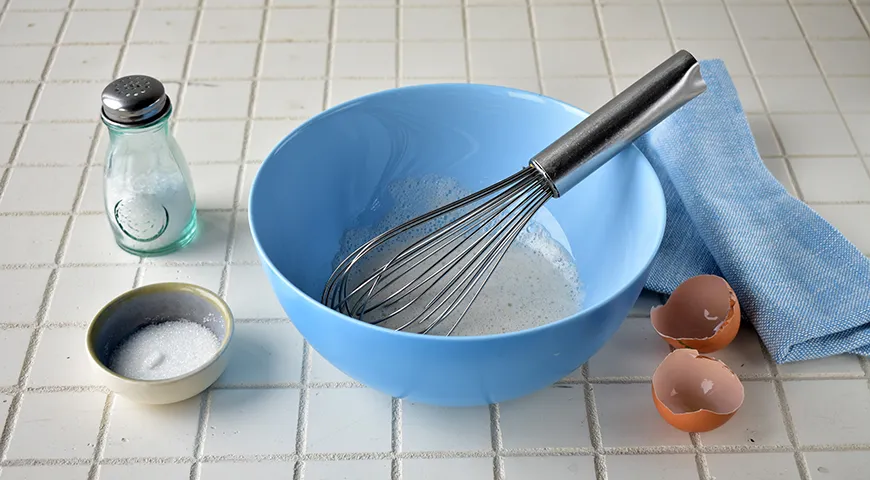
Step 1: Prepare the Blini Batter
In a large bowl, beat the egg with sugar and salt until light and frothy. Pour in the kefir and whisk until smooth. In a separate bowl, sift together the flour and baking soda, then gradually incorporate into the liquid mixture, whisking constantly to avoid lumps.
Step 2: Add Kefir and Combine
Pour the kefir into the egg mixture and stir gently. Sift the dry ingredients directly into the bowl and mix until you have a thick, smooth batter. A food processor can be used at this stage for extra smoothness.
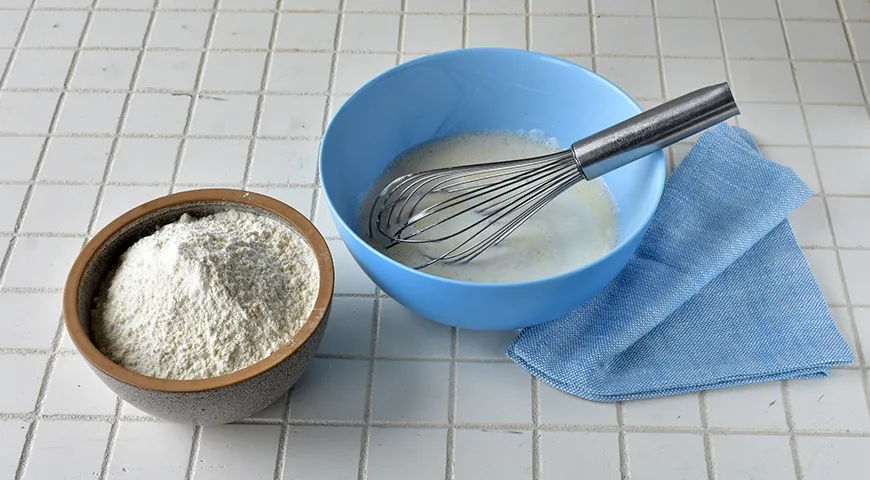
Step 3: Finish the Batter and Rest
Stir in the vegetable oil and the boiling water. The hot water will cook the flour slightly, creating a tender crumb. Whisk vigorously until the batter is thin and glossy. Cover the bowl with a clean towel and let it rest at room temperature for 30 minutes. This rest allows the gluten to relax, resulting in more delicate blini. While you wait, you can start the filling.

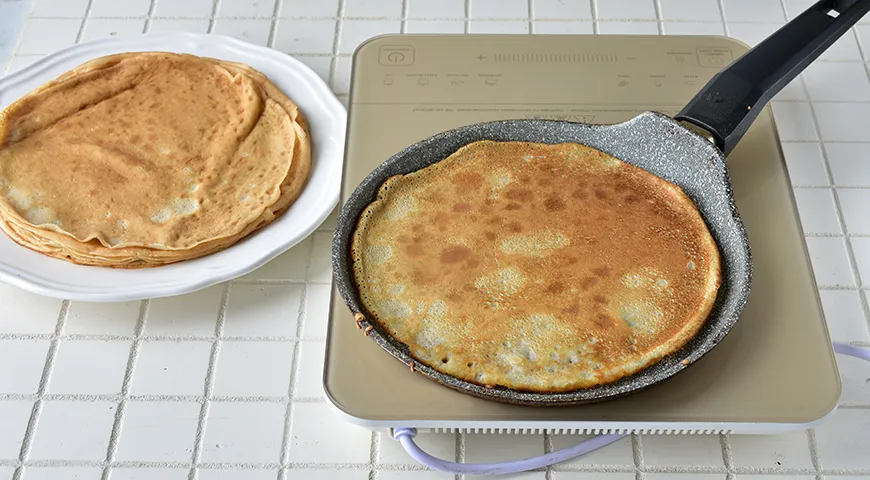
Step 4: Cook the Blini
Heat a non-stick skillet over medium-high heat and lightly grease it with vegetable oil or use an oil sprayer for an even coat. Pour a ladleful of batter into the center, swirling to cover the pan. Cook until the edges lift and the bottom is golden, then flip and cook the other side. Repeat with the remaining batter, stacking the cooked blini on a plate. You should have about 12–15 medium blini.
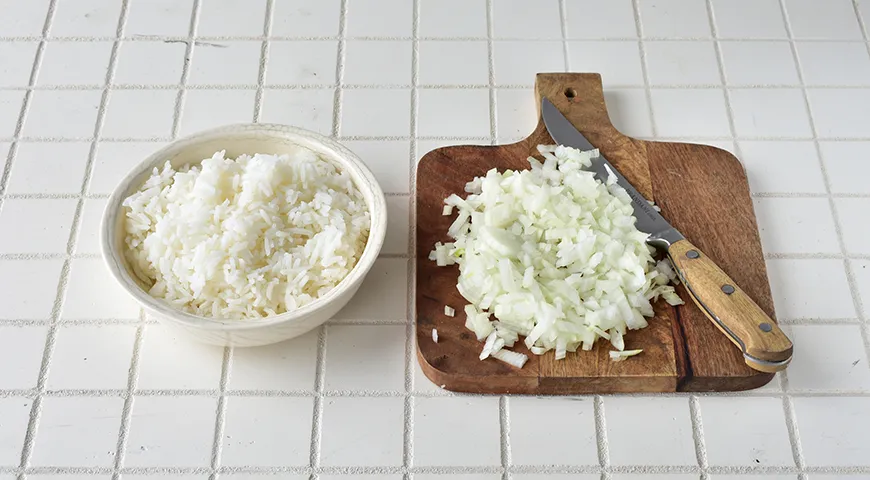
Step 5: Prepare the Rice and Onion
Cook the rice in salted boiling water according to package directions until tender—about 15 minutes. Drain and set aside. Meanwhile, peel and finely dice the onion. Using a microwave pressure cooker can significantly speed up the rice cooking process if you are short on time.
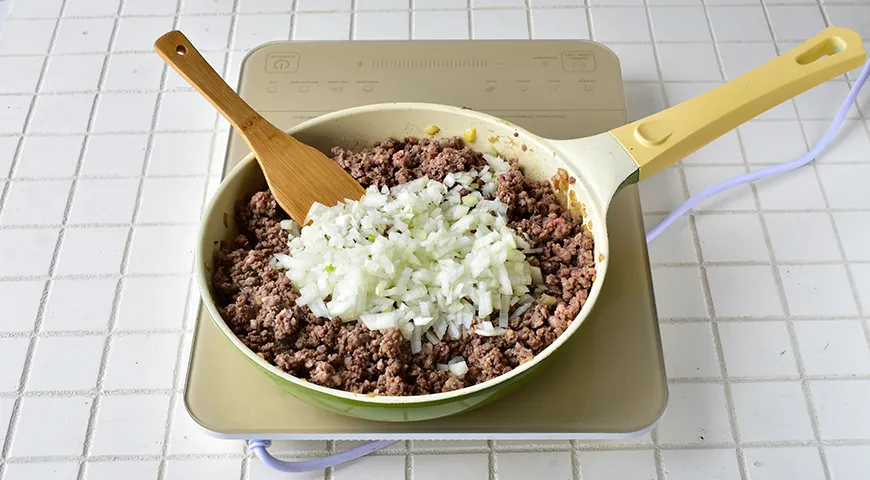
Step 6: Brown the Meat
In a skillet, heat a tablespoon of oil over medium heat. Add the ground beef and cook, breaking it apart with a spoon, until no longer pink. Stir in the diced onion and continue cooking until the onion is translucent and the meat is nicely browned. Season generously with salt and pepper. For an even more flavorful filling, consider using a commercial countertop convection oven to roast the meat first, though pan-frying works beautifully.
Step 7: Assemble and Serve
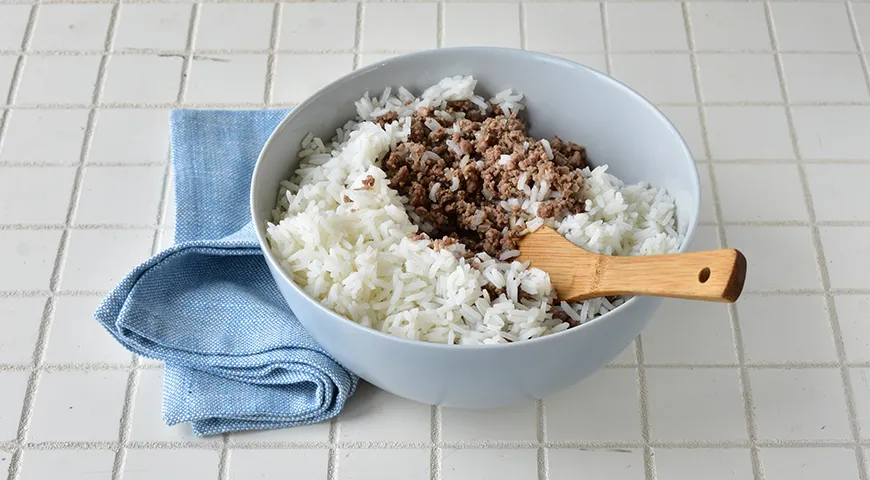
Combine the cooked rice with the meat mixture, stirring well. Place a generous spoonful of filling in the center of each blin. Fold the sides over to form an envelope, then roll up tightly. Serve immediately, or reheat gently in a buttered skillet before serving. A dollop of sour cream or a drizzle of yogurt is traditional, though a bold sweet wine or even a shot of organic vodka can elevate the experience.
Tips for Perfect Blini
- Resting the batter is non-negotiable—it ensures tender, elastic blini that won't tear when filled.
- For extra-soft blini, substitute up to one-third of the boiling water with milk.
- Use a non-toxic air fryer to reheat leftover blini quickly without drying them out.
- Keep cooked blini warm in a built-in refrigerator? No—better to stack them under a clean cloth or in a low oven. But for long-term storage, a well-organized refrigerator helps keep blini fresh.
- If you own an espresso machine, a strong coffee pairs wonderfully with these savory pancakes for breakfast.
Delicious Variations
While beef and rice is the classic duo, feel free to experiment. Swap the ground beef for pork, chicken, or mushrooms for a vegetarian version. Add a teaspoon of smoked paprika or a pinch of cumin to the filling for an Eastern twist. For a Scandinavian flair, stir in some dill and serve with lingonberry jam. If you have leftover blini, try layering them in a casserole with cheese and béchamel—a dish reminiscent of Catalan sponge cake in its comforting simplicity. And if you are preserving a large batch of filling, consider a steam canner for safe storage.
Frequently Asked Questions
Can I use other meats in the filling?
Absolutely. Ground pork, chicken, turkey, or even lamb work well. For a leaner option, use chicken breast minced in a food processor.
How do I prevent blini from tearing when rolling?
Ensure the batter rests fully and that the blini are not overcooked. Cook them just until set—overcooking makes them brittle. Also, use a thin layer of filling; overstuffing leads to breakage.
Can I make the blini batter a day ahead?
Yes, but the texture may change slightly. Store the batter covered in the refrigerator and whisk in a tablespoon of warm water before cooking if it has thickened too much.
What is the best way to freeze stuffed blini?
Place them in a single layer on a baking sheet, freeze until firm, then transfer to a freezer-safe bag. They keep for up to three months. Reheat directly from frozen in a skillet or air fryer.
What sauces pair best with stuffed blini?
Classic accompaniments include sour cream, tomato sauce, or garlic yogurt. For a more adventurous palate, try a tangy tartar sauce or a spicy chili dip. A glass of sweet wine also cuts through the richness beautifully.
With these blini stuffed with meat and rice, you are not just preparing a meal—you are crafting a tradition. Whether you serve them as a hearty breakfast, a packed lunch, or a comforting dinner, they will warm both body and soul.


