


There is an almost alchemical satisfaction in transforming simple milk and kefir into a silky, golden-tinged homemade cottage cheese. This recipe, a classic from the Russian culinary tradition, uses the gentle heat of the oven to produce a curd that is both tender and richly flavored. Unlike store-bought versions, this oven method yields a cheese with a beautiful layered texture and a subtle, clean taste. It’s a project that rewards patience, but the result is a deeply nourishing ingredient—perfect on its own, spread on toast, or folded into desserts. Below, we guide you through the process, from selecting the right vessels to achieving the perfect curds, with expert tips and creative variations.
About Homemade Cottage Cheese
Homemade cottage cheese—known as tvorog in Russian—is a staple of Eastern European kitchens. The traditional oven method, called tomyoniy tvorog (stewed cottage cheese), uses low, steady heat to separate curds from whey, resulting in a dumpling-like, creamy texture. This technique is distinct from stovetop or microwave methods; it allows the curds to settle slowly, creating a more uniform and delicate product. Using whole milk 6% fat and kefir 3.2% fat ensures a rich mouthfeel. For an even more authentic experience, consider using raw milk if available, and always source quality dairy from trusted producers. The process is inherently slow, but the gentle oven heat mimics the old-fashioned brick oven, imparting a subtle nuttiness that electric stovetops cannot replicate.

Ingredients
- 2 liters whole milk (at least 6% fat)
- 200 grams kefir (3.2% fat)
That is all. The magic comes from the quality of the milk and the patience of the process. You will also need a large oven-safe container—an enameled cast-iron pot, a ceramic clay pot, or a glass baking dish (a 3-liter glass jar works perfectly). Cheesecloth or a clean muslin cloth, a colander, and a large bowl for collecting whey.
Step-by-Step Instructions
Follow these carefully for a perfect curd. The images below show the process at each stage.
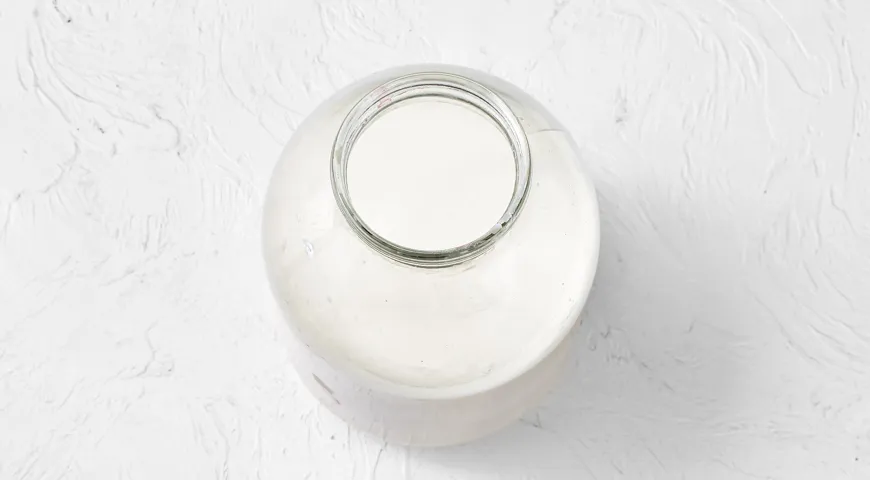
Step 1: Prepare the Milk for Fermentation
Pour the milk into your chosen container—glass, ceramic, or enameled cast-iron. Avoid aluminum or non-stick. Add the kefir and stir gently. Cover the container with a clean cheesecloth or a breathable kitchen towel. Leave it at room temperature for 24 to 48 hours, until the milk thickens into a clotted, lumpy yogurt-like mass. To speed things up, you can heat the milk to 40–45°C over low heat, then stir in the kefir, remove from heat, cover, and leave for 7–10 hours at room temperature. The curd should pull away from the sides of the container. Do not stir or pour; let it set undisturbed.
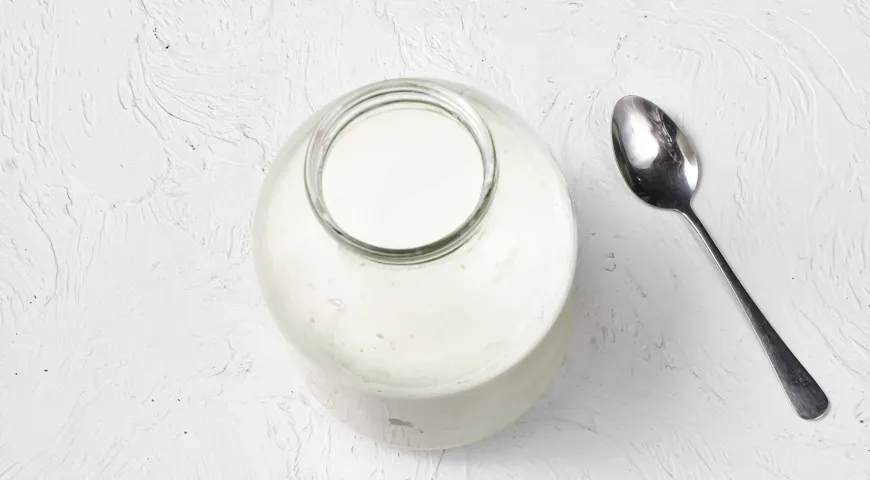
Step 2: Prepare the Curds
After fermentation, check the clabber: it should look like a firm, slightly wobbling yogurt. If a yellow cream layer has formed on top, you can carefully spoon it off—this is rich cream that can be used elsewhere. Do not disturb the curd mass below. Ensure your container is not filled to the brim; leave about 1.5–2 cm of space to allow for expansion.
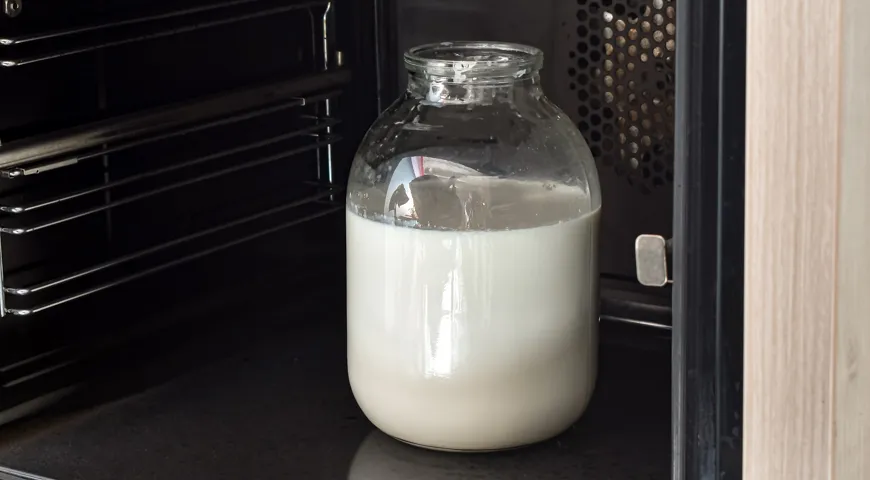
Step 3: Oven Cooking
Place the container with the clabber into a cold oven. Set the oven to 120–150°C (250–300°F) and cook for exactly 1 hour. Do not open the door during this time. The slow heat gently separates the curds from the whey, giving a beautiful, layered texture. Use a reliable oven—for recommendations on the best wall oven microwave combos with air fryer or commercial countertop convection ovens that maintain even heat, check our guides. For a non-toxic alternative, see best non-toxic air fryers that can also do this job.
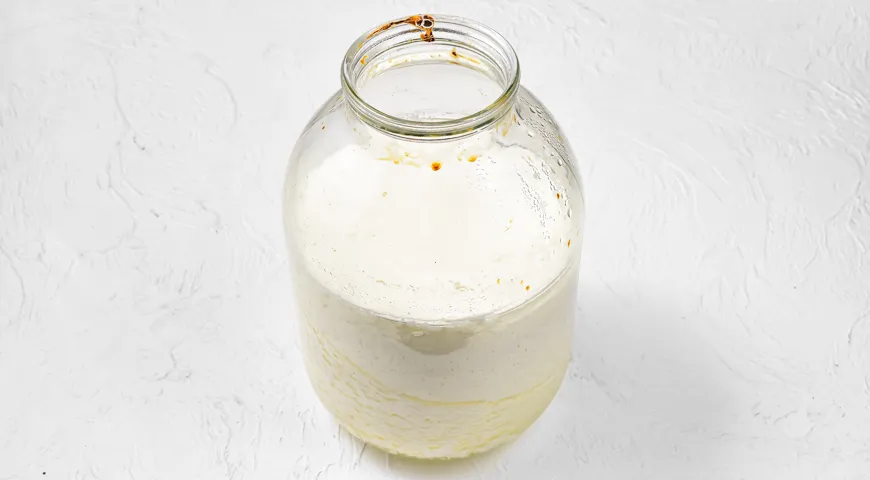
Step 4: Slow Cooling
After 1 hour, turn off the oven but leave the container inside to cool slowly—preferably overnight. This gentle cooling allows the curds to settle further. For best results, do not use more than 3 liters of milk in one batch to ensure even heating. By morning, you will see the curds have sunk to the bottom, with a clear, golden whey floating above. This separation is especially visible in a glass dish.
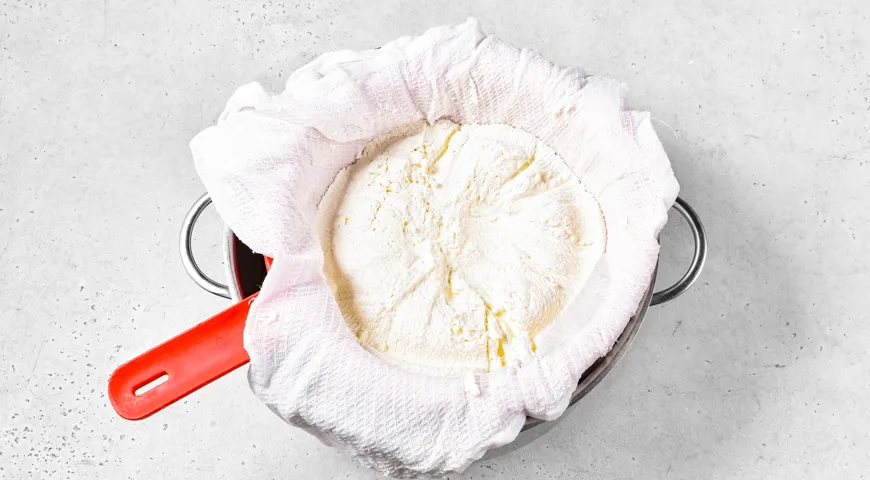
Step 5: Draining the Whey
Line a large colander or sieve with 2–4 layers of cheesecloth and place it over a deep bowl. Carefully pour the curds and whey through the cloth—avoid breaking the curd lumps. Gather the corners of the cloth and squeeze lightly to remove the bulk of the whey. For a drier cheese, hang the bundle over a bowl for 1–2 hours.
Step 6: Final Drying
Leave the cheese in the cloth-lined colander (or suspended) for another 1–2 hours if you prefer a softer consistency. For a very dry, crumbly cottage cheese (like the Russian tvorog often used in vatrushka pastries), place the wrapped curds in a bowl and put a weight (e.g., a can of beans) on top for 2–3 hours. Your homemade cottage cheese is now ready.

Tips for Perfect Curds
Use a thermometer to monitor milk temperature if accelerating fermentation. For a tangier cheese, extend the fermentation time. Avoid stirring the clabber before baking—disturbing the curd can lead to a grainy texture. If you prefer a smoother result, you can pulse the finished cheese briefly with an immersion blender after draining. For a buttery texture, incorporate a tablespoon of cream. Store the cheese in a covered glass container in the refrigerator for up to five days. The leftover whey is excellent for baking, smoothies, or as a protein boost—collect it in a container and refrigerate. To extend shelf life further, consider canning your cheese with a steam canner.
Variations and Serving Suggestions
This simple base can be transformed in countless ways. For a sweet breakfast, serve with honey, fresh berries, and a sprinkle of chocolate-covered raisins. For a savory version, fold in chopped herbs, salt, and pepper, and spread on crusty bread. Blend it into a smooth cheesecake filling using a planetary mixer for a velvety texture. You can also mix it with roasted nuts made in a food processor for nut butter for a crunchy topping. In Russian cuisine, this cheese is the base for syrniki (fried cheese pancakes) and pascha (Easter cheese dessert). For a modern twist, use it as a filling for stuffed crepes or lasagna. If you enjoy pairing cheese with wine, our guide on best sweet wines with high alcohol content offers perfect pairings. And for a morning treat, brew a pot of George Howell coffee to complement the milky notes.
FAQ
Why did my cottage cheese turn out rubbery?
Rubberiness often comes from overheating. Ensure your oven temperature stays between 120–150°C and do not exceed 1 hour of baking. Also, avoid pressing the curds too forcefully when draining.
Can I use skim milk?
Skim milk will yield a drier, less flavorful cheese. For best results, use whole milk with at least 3.5% fat, but the classic recipe calls for 6% fat for that rich, creamy texture.
How long does homemade cottage cheese last?
Stored in a sealed glass container in the refrigerator, it keeps for 4–5 days. Whey can be frozen for up to three months. Use a large refrigerator for longer storage.
Can I make this cheese without kefir?
Yes, you can substitute buttermilk, sour cream, or even live yogurt culture. Kefir provides a unique tangy flavor and a probiotic boost. For a non-dairy starter, try a probiotic capsule.
Is it necessary to use a glass or ceramic dish?
These materials distribute heat gently. Metal can cause hot spots that overcook the curds. See our review of best oil sprayers if you need to grease the dish—though it’s not usually necessary. For glass containers, our guide on best glass food processor containers offers insights on durability.
Can I speed up the process in a microwave?
You can, but the texture will differ. Use a microwave pressure cooker on low power for 10–15 minutes, then let it rest. The oven method is preferred for its consistent, tender curds.
What can I do with the leftover whey?
Whey is packed with protein and nutrients. Use it in soups, smoothies, or pancake batter. You can also use it to water plants or as a natural cleaning agent. For long-term storage, freeze in ice cube trays.
This traditional Russian technique rewards you with a cottage cheese that is worlds apart from the commercial product. Once you taste the creamy, layered curds slow-cooked in the oven, you will understand why this method has been cherished for generations.


